Apparel Product Development for Sportswear: From Concept to Production

Build a sportswear product through a clear brief, controlled technical files, approved samples, a costed order and measurable production checks.
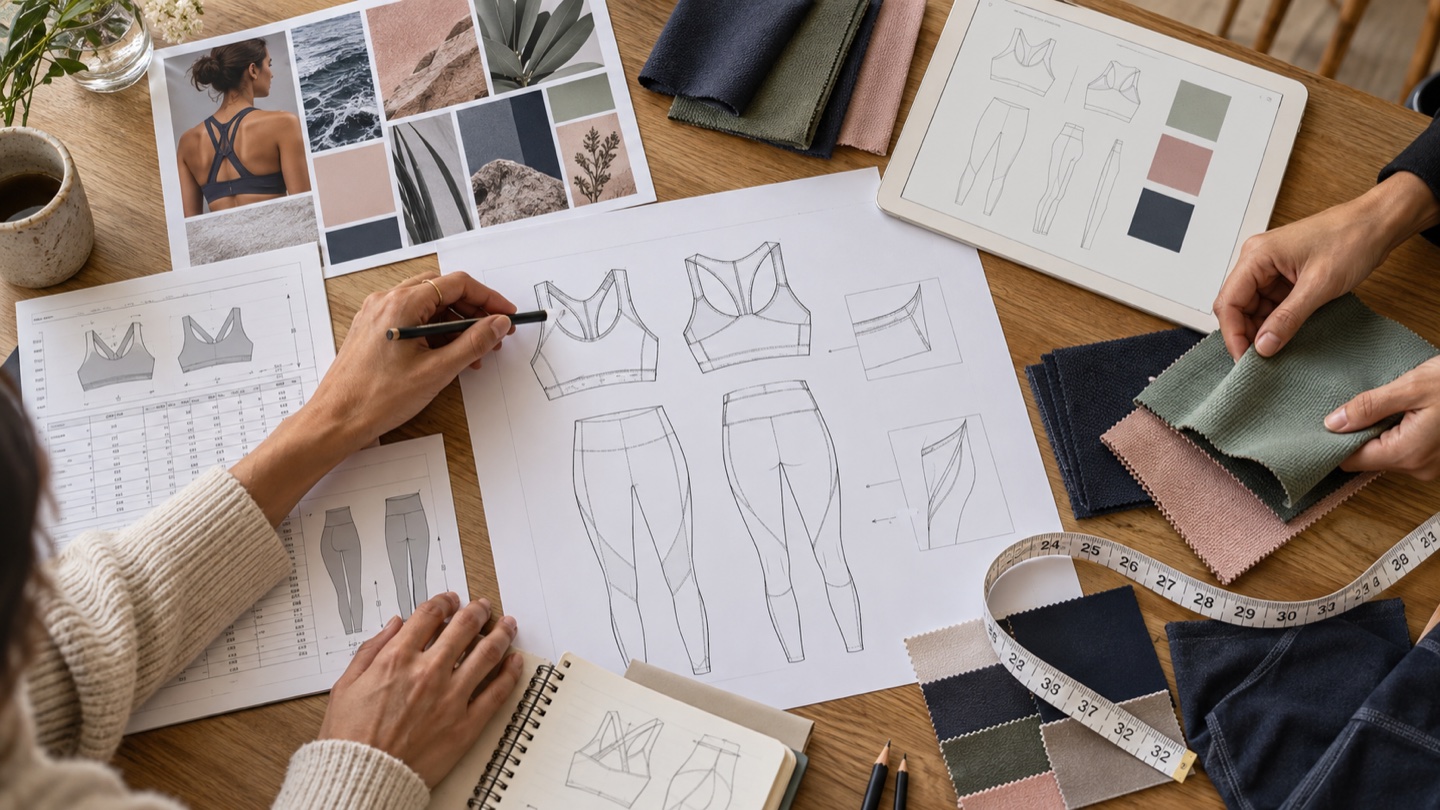
Apparel product development is the work of turning a product idea into a garment that a factory can reproduce at the agreed quality, quantity and cost. The output is a connected set of decisions: what the garment must do, how it is constructed, which materials are approved and what evidence permits production to continue.
For sportswear, fit and material behaviour must be developed together. A waistband that works in one knit may behave differently in another. A print process can change stretch, and a revised seam can change comfort. Recording each approved combination gives the brand and manufacturer a shared basis for the next sample and the next order.
Use this nine-step workflow with Sportxia to organise technical design, sourcing, sampling and inspection. Keep one current tech pack and BOM throughout. The downloadable checklist and sourcing workbook below help capture the information before it becomes an unanswered question on the factory floor.
Prepare the Inputs Before Development Starts
Planning time: 1–2 weeks. Complexity: intermediate. Treat this as a preparation allowance, rather than the complete sample-development lead time. Agree who will supply missing inputs and when the factory can begin.
Optional learning resource: CLO-SET’s official product development workflow webinar. This external tutorial illustrates digital collaboration; physical fit, material tests and written approvals still control production.
Product and commercial inputs
- A performance brief stating the wearer, activity and operating conditions.
- A physical benchmark sample for hand feel, construction and proportion. Use reference garments lawfully and develop original artwork.
- A provisional retail price and margin target, with the sales channel identified.
- One consistent fit model or a documented body-measurement and size-set strategy.
People and systems
- A pattern maker or technical designer, a factory contact and one final brand approver.
- An agreed response SLA so review time appears in the project calendar.
- Excel or Google Sheets plus PDFs for a small team; a PLM or structured “PLM-lite” register as the range grows.
- Optional CLO 3D development, with suitable material data and physical fit verification.
Set the compliance and delivery scope
Identify the target markets, intended age group, restricted substances list (RSL), testing requirements and packaging rules. Where OEKO-TEX STANDARD 100 is required, verify a valid certificate whose product scope covers the supplied material or article. It is not a substitute for every destination-market requirement.
For children’s products sold in the United States, review the applicable CPSC testing and certification requirements. Confirm with the responsible importer which rules, exemptions and certificates apply to the actual product. State the delivery rule and named place using ICC Incoterms 2020.
Download the Development Tools
Use the PDF when checking a technical package and the editable workbook when collecting supplier evidence, owners and open actions.
Request a technical brief review if you need help defining the information required for a sample quote.
Step 1. Write a Technical Product Brief
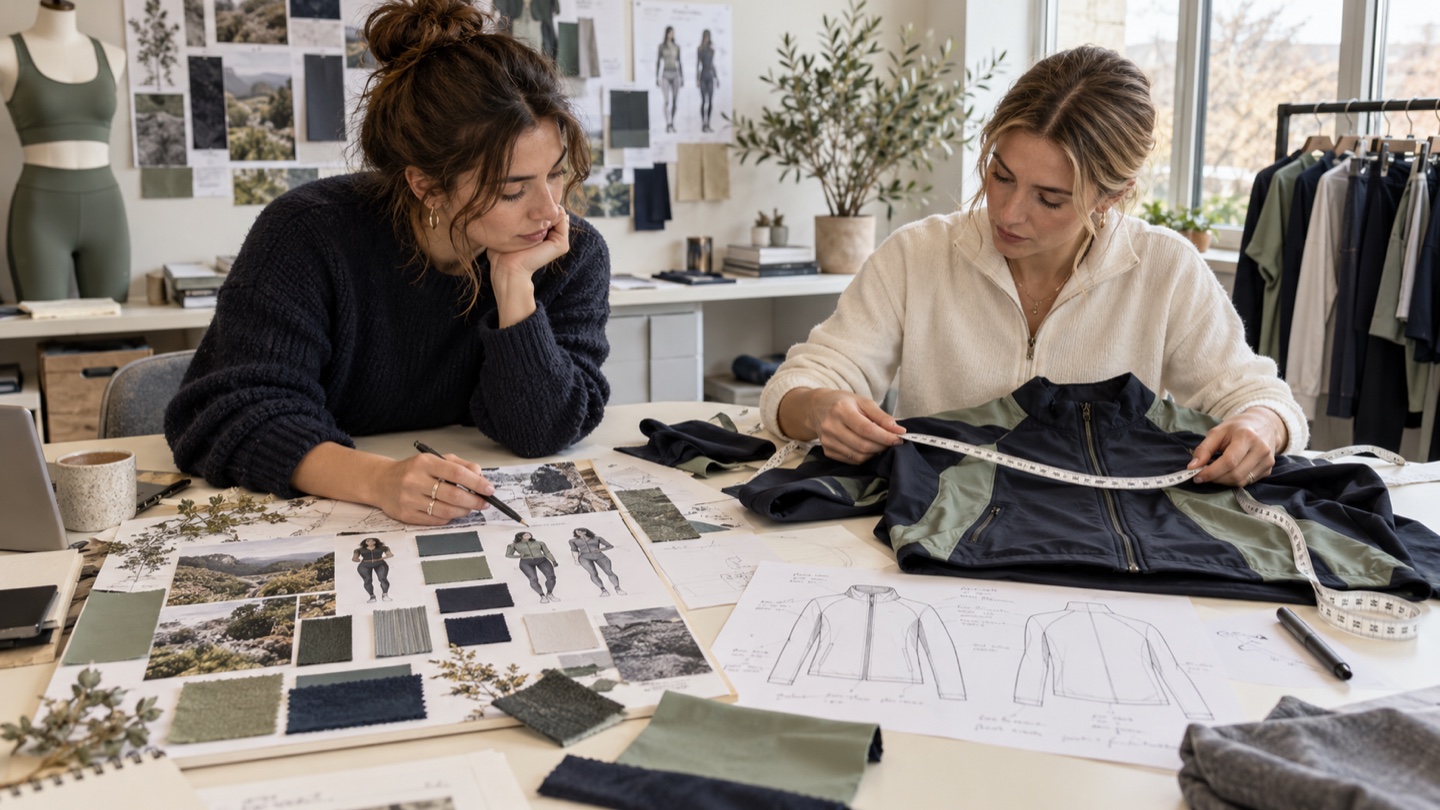
Begin with a one-page brief that can be understood without a verbal presentation. Identify the target wearer, sport and environment. A competitive runner training in heat and humidity has different needs from a studio customer seeking gentle compression.
Separate the essential requirements from preferences
Choose 3–5 non-negotiable attributes and explain how each will be checked. Examples include coverage at the intended stretch, a specified level of compression, low-profile seams at contact zones and a required abrasion result. “Squat-proof” needs defined lighting, extension, colour and wearer conditions; “zero opacity” would mean transparency, so specify the desired coverage clearly.
State the base size and the fit model’s relevant measurements. Add the intended size range and who owns the grade rules. Avoid treating a size label such as Medium as a complete body specification.
Record the sensory requirement
Attach the approved swatch and describe its feel: a cool smooth face, a peached inner surface or a dry textured finish. Specify label softness and the areas where the wearer should not feel a raised seam. Screens can support a discussion, but they cannot establish tactile approval.
Resolve a conflict before sampling
If a heavyweight premium hand feel conflicts with the price or heat-management target, record which requirement takes priority. Ask the factory for a proposed material or construction compromise and approve it in the brief before development proceeds.
Gate output: a dated brief with the wearer, performance priorities, fit reference, cost target and one named decision owner.
Step 2. Draw Technical Flats and Construction Callouts
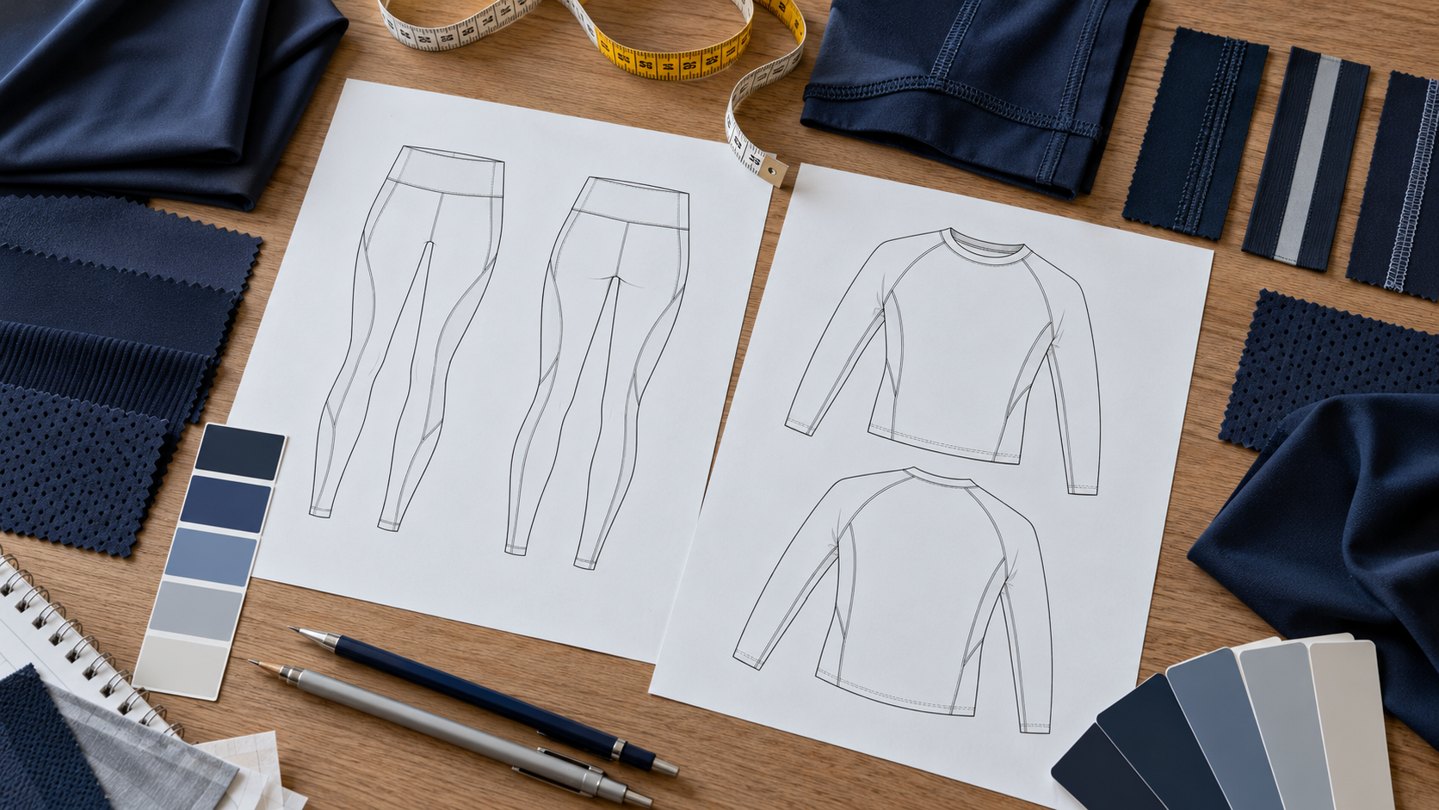
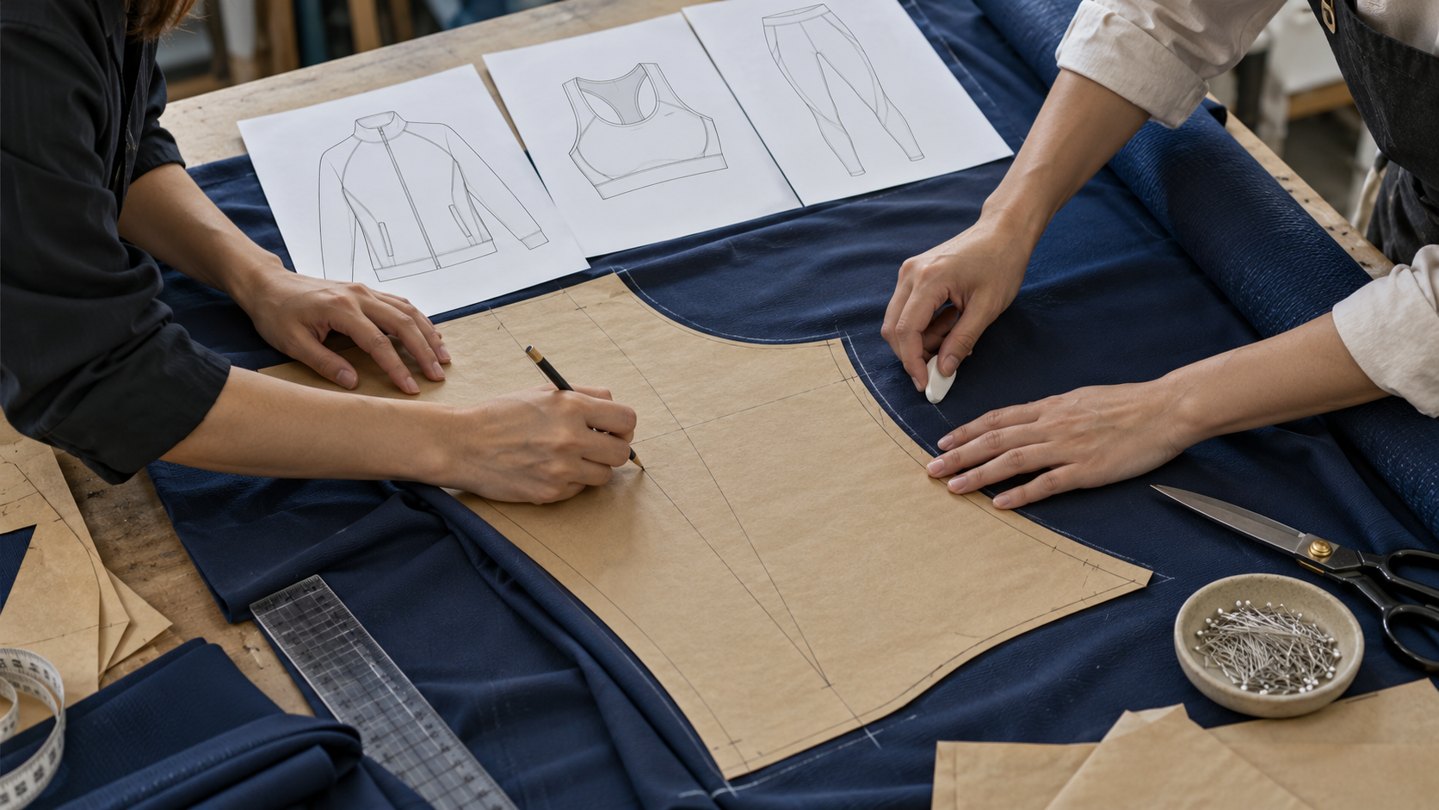
Create front, back and detail views in a suitable drawing or development tool. Each visible line should have a purpose: panel edge, stitch line, opening, fold or artwork boundary. Identify reference dimensions rather than assuming that a stylised drawing supplies a usable pattern.
- Seams: state the stitch and seam arrangement for each zone. Flatlock may suit a high-friction area; overlock may suit other structural seams. Check comfort and strength on the actual material.
- Branding: define silicone transfer, sublimation or another approved decoration process, its size and its measured position. Embroidery may need backing or relocation on a stretch panel; it is not automatically unsuitable everywhere.
- Hardware: specify zipper protection, guards and garages where required to prevent unwanted skin contact.
- Edges and bindings: evaluate waistband pressure and armhole rotation. Bonding is one construction option, rather than a universal requirement for comfort.
Review grain direction, stretch orientation and assembly order with the pattern maker. Our cut-and-sew development service covers pattern development, material sourcing, sample review and garment construction. Use 3D visualisation to examine proportions where useful, then confirm the assumptions against physical material and fit checks. A virtual garment helps identify a question; it does not sign off the finished product.
Gate output: drawings and callouts that let the pattern and sewing teams explain how every panel will be assembled.
Step 3. Assemble the Master Tech Pack
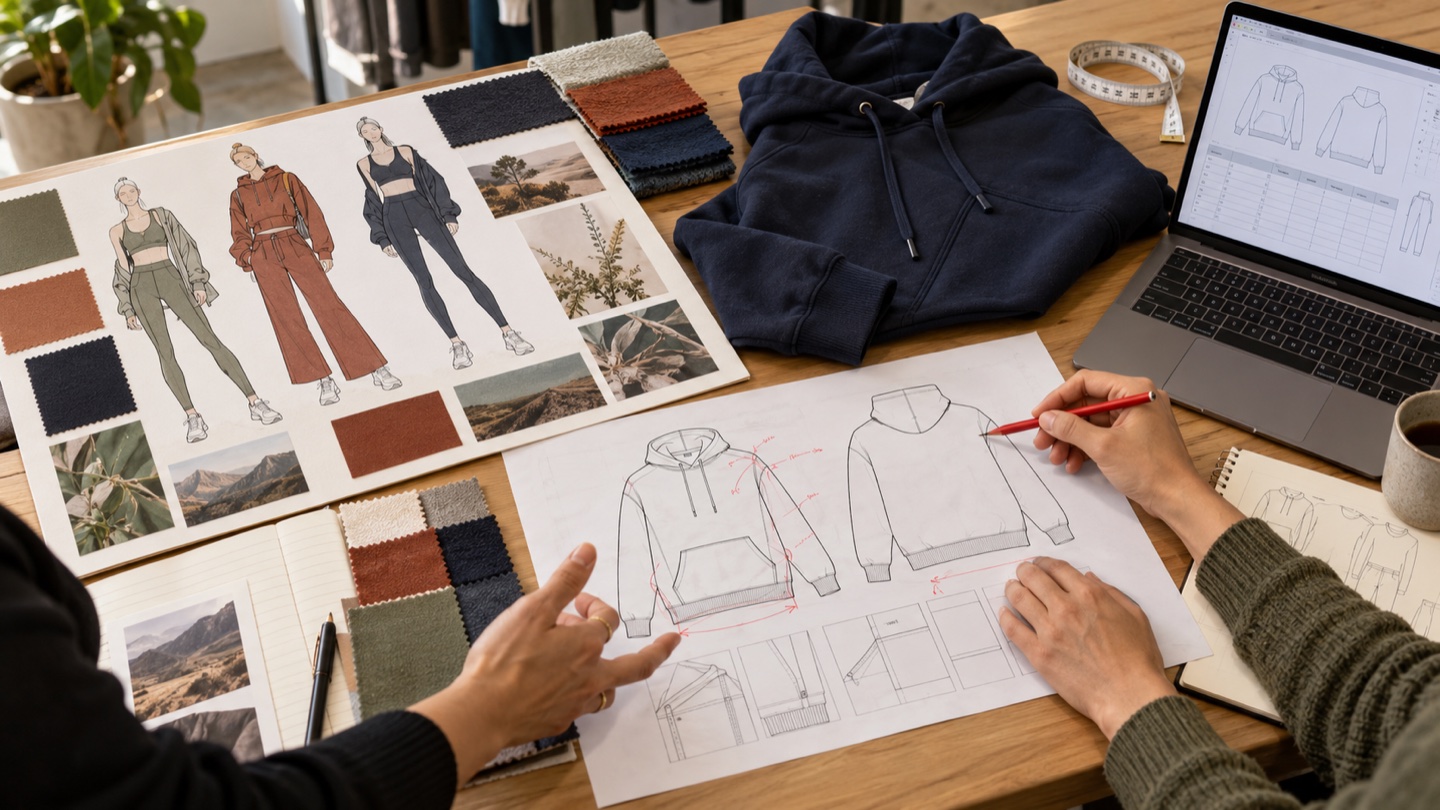
Connect the drawings to one controlled technical record. Include the style identifier, version date, approved colourways, base-size measurements, grading, materials, construction, artwork, labels, packaging and testing instructions. Coordinate label types, trims and brand identity through our private-label services, and include the approved details in the same file. Give each file a revision history so an older PDF cannot silently become the production reference.
Make each specification reproducible
- BOM: identify composition, GSM, supplier code, material code, colour and approved component. A thread example might specify Pantone 19-4052 TCX, poly-core, Tex 40, with the actual physical colour and thread construction approved separately.
- POM: show the measurement diagram, base-size value, grade increments and allowed variation for each point.
- Construction: specify stitches per inch where relevant, thread, needle and stress-point reinforcement. 607 is a stitch-type designation for a four-needle flatseam operation; it is not a standalone standard called “ISO 607.” See the Coats stitch guidance when selecting the appropriate operation.
- Testing: name the property and method. AATCC TM79 measures absorbency. It does not, by itself, substantiate a complete moisture-management or wicking claim.
- Release control: record unresolved items and identify which ones block the next stage.
Choose who should own technical design before commissioning the package.
Gate output: one current technical file with a complete BOM, measurement methods, revision register and approval responsibility.
For the page-by-page file structure, follow our eight-step sportswear tech pack guide. It includes construction, BOM, measurement, artwork and QC requirements, plus a downloadable checklist and editable template.
Step 4. Source and Approve Performance Materials and Trims

Request a specification and commercial record for every candidate material. Record supplier, construction, composition, weight, width, finish, MOQ, lead time and the test evidence relevant to its intended use. A candidate 78% recycled polyester / 22% spandex fabric still needs its physical performance assessed; percentages do not establish recovery or coverage.
Choose factory-led sourcing and manufacturing services when a coordinated existing network suits the programme, or nominate a mill when you need closer control of the source. In either route, assign responsibility for booking, colour approval, testing and delivery. Nominated fabric does not remove the need for a clear factory receiving check.
Approve the actual material combination
Compare stretch and recovery, hand feel and coverage on the physical swatch. Keep the supplier lot reference with the approval. A quick stretch against light is a development screen, not a complete squat-coverage certification. Evaluate colour and fit in the intended garment as well.
Test elastics and zippers for the expected use. If durability requires thousands of extension cycles, agree the exact count, force or extension, conditioning and failure definition with the laboratory and supplier. Avoid using an unspecified cycle claim as an automatic pass.
For recycled claims, check the relevant scope and shipment evidence. Textile Exchange explains transaction certificates as evidence for specific certified shipments. Match claimed content to the supplied goods and current scheme rules; a generic “eco-friendly” description is insufficient.
Gate output: approved swatches, colour references, test evidence and material codes linked to the current BOM.
When sourcing through a new production partner, use our China sportswear manufacturer shortlist to compare product capability, order minimums and the evidence to request before approving materials.
Step 5. Run Sampling and Fit Through Approval Gates
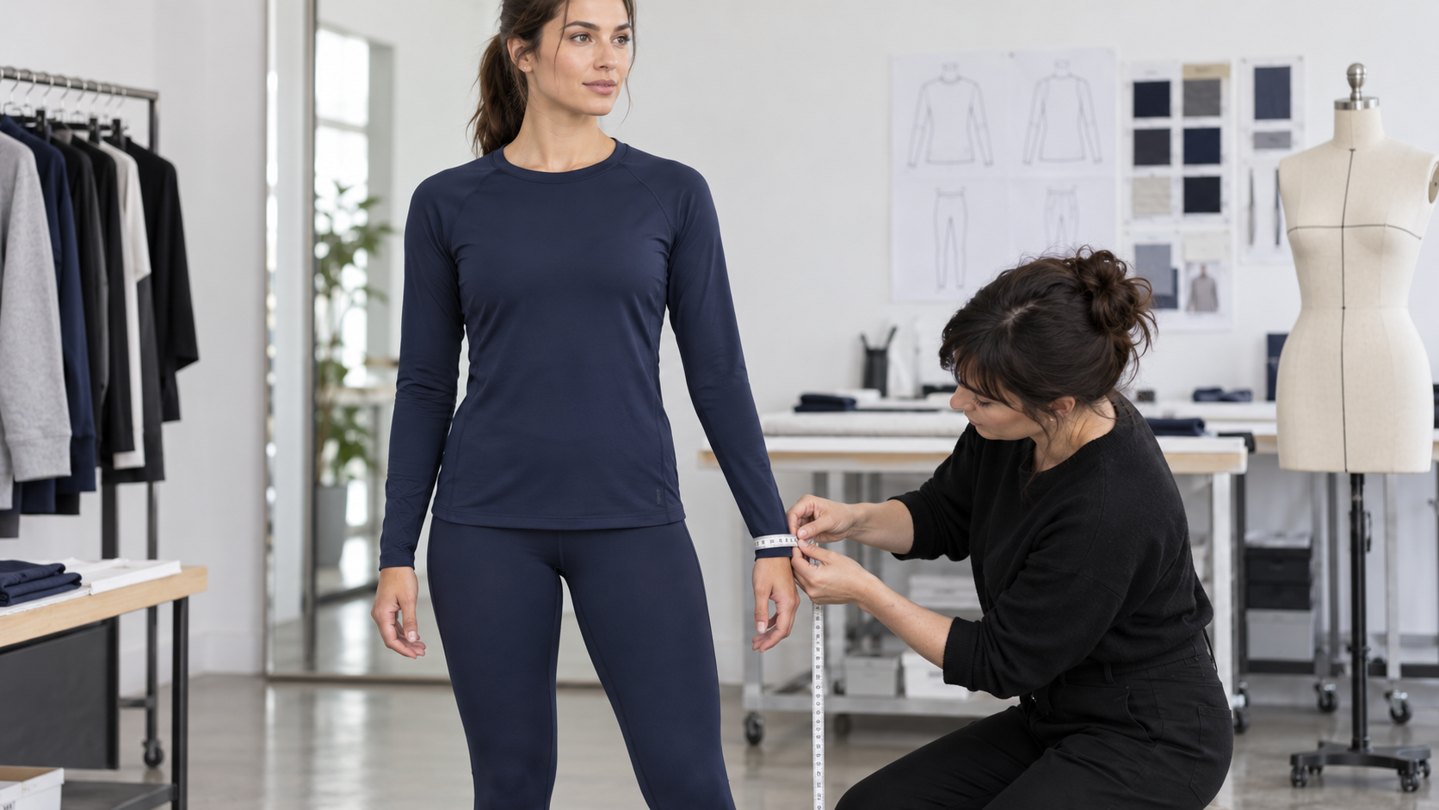
Define what each sample must prove before it is ordered. A first prototype can investigate proportion and assembly, sometimes with a substitute material whose limitations are recorded. A revised sample should resolve the known issues using the required fabric and components. The pre-production sample connects the approved fit to the intended bulk materials, decoration and packaging.
Sportxia example: a sports bra through three iterations
The development team began with a 2D concept, technical drawings and BOM. A 3D review helped examine panel relationships. The first physical sample identified strap and neckline issues; the next review addressed seam construction and elastic behaviour. PP approval then confirmed the final reference and packing details.
| Stage | Recorded change | Reported result |
|---|---|---|
| v1 | Strap angle reduced by 2 degrees | Shoulder-slip issue resolved in the reviewed sample |
| v2 | Higher-modulus elastic; construction and bonded-seam revisions | Improved support in the programme review |
| PP | Final heat-transfer label and packaging confirmation | Reference approved for bulk production |
This company-reported example describes one development programme. Its angle change and material choice are not universal corrections for another bra or wearer.
For other production programmes and their reported outcomes, explore Sportxia sportswear case studies.
Use a five-movement review
- Reach: observe hem lift, armhole pressure and restricted movement.
- Twist: examine side-seam position and the garment’s return to its intended balance.
- Squat: assess rear coverage, waistband roll and seam behaviour.
- Jog: evaluate bounce, strap stability and the intended level of support.
- Deep breath: check for uncomfortable ribcage restriction.
When this movement review reveals rolling, sliding, pressure or chafing, use our technical guide to activewear fit diagnosis and correction to record the failure and isolate pattern, elastic, fabric or seam causes before the next development round.
Separate seam grin, where a seam opens under tension, from fabric show-through. Measure the sample using the agreed POM method. An example ±0.5 cm limit must be assigned to a particular measurement and product, not applied as an unexplained universal rule.
Classify comments as structural must-fix items or optional aesthetic changes. Link marked photographs to the revised specification and require the factory to acknowledge the revision history before the next round. Keep the approved sample tag and physical counter sample identifiable.
Gate output: a signed fit decision, current pattern and tech pack, plus an approved PP reference before the agreed bulk release.
See the complete clothing sample-stage timeline.
Before authorizing the next round, assign a budget to pattern changes, sample labour, material setup, testing and courier. Use our clothing sample cost budgeting guide to separate one-time development work from repeat-round charges and agree any sample-fee credit terms in writing.
Step 6. Cost the Product and Test the Pricing Logic

Develop the quote around the approved materials and construction. Ask for enough detail to understand consumption, process time and order-specific charges. Differentiate an initial development estimate from a final quote linked to the released BOM.
Factory cost drivers
- Fabric usage, cutting yield and marker efficiency.
- Trims, labels, decoration and packaging.
- Cut-make-trim labour and process complexity.
- Tooling, development and sample charges, with any amortisation shown.
Delivered cost drivers
- Freight, insurance and applicable customs charges.
- Testing and inspection fees.
- Brokerage and receiving or 3PL handling.
- Currency and agreed surcharge exposure.
A flatlock or bonded operation can change machine time and setup compared with another seam. Ask for the specific cost effect on your product instead of assuming that one operation is always more expensive. A revised quote should identify the changed operation or material.
Keep the channel assumptions visible
| Planning input | Example | How to use it |
|---|---|---|
| DTC gross margin target | 75% | Illustrative target before CAC and other operating costs; define COGS consistently. |
| Fit-critical returns scenario | 20-30% | Model return rate and per-return cost separately; this is not a verified market average. |
| Retail selling-price multiple | 2.2x-2.5x wholesale price | Test retailer margin and the brand wholesale contribution separately. |
| Contingency | 3-5% | Visible assumption on the selected cost base; avoid duplicating included surcharges. |
Total landed cost = product cost + freight + applicable duties + testing + receiving/3PL costs, plus other charges actually borne by the buyer. Under a DDP quote, avoid counting an included duty or freight charge a second time. Incoterms allocate specified delivery costs and risks; they do not replace the separate payment or quality agreement.
Gate output: a final quote that reconciles to the BOM, named delivery basis and channel-specific unit economics.
Step 7. Release the Order and Map the Critical Path

Issue a clearly dated production release with the final technical files, approved samples, test requirements and purchase order references. If fabric and garment production use separate POs, connect them to the same style and version so the quantities and responsibilities remain aligned.
Confirm colour and size allocations. For example, a S–M–L–XL ratio of 1–2–2–1 is a quantity instruction, not a grading rule. Expand it into actual unit counts that reconcile to the purchase quantity, and confirm rounding where the total is not divisible by six.
Replace a headline lead time with milestone dates
A quoted 45-day programme needs a defined start event and scheduled material booking, lab-dip approval, bulk dyeing, cutting, sewing, finishing and inspection. Ask the planner to show which approvals or incoming components can move the completion date. Confirm capacity rather than assuming that a deposit alone reserves an unlimited slot.
A proposed payment arrangement might use a 30% deposit and 70% balance after the agreed passing pre-shipment inspection. Negotiate the actual terms, evidence and remedies for the order. Paying 100% upfront reduces the buyer’s remaining payment leverage; assess that exposure before agreeing to it. Photographs or packing video can supplement, but do not replace, an inspection or shipment record.
Compare the sealed counter sample to the buyer’s PP reference. If colour or hand feel differs, investigate the lot, finish and process before releasing cutting. A change can have several causes; do not treat a tactile difference alone as proof of substitution.
Gate output: signed commercial documents with the released file versions, unit matrix, material responsibilities, capacity confirmation and dated milestones.
Step 8. Define Measurable Quality Control
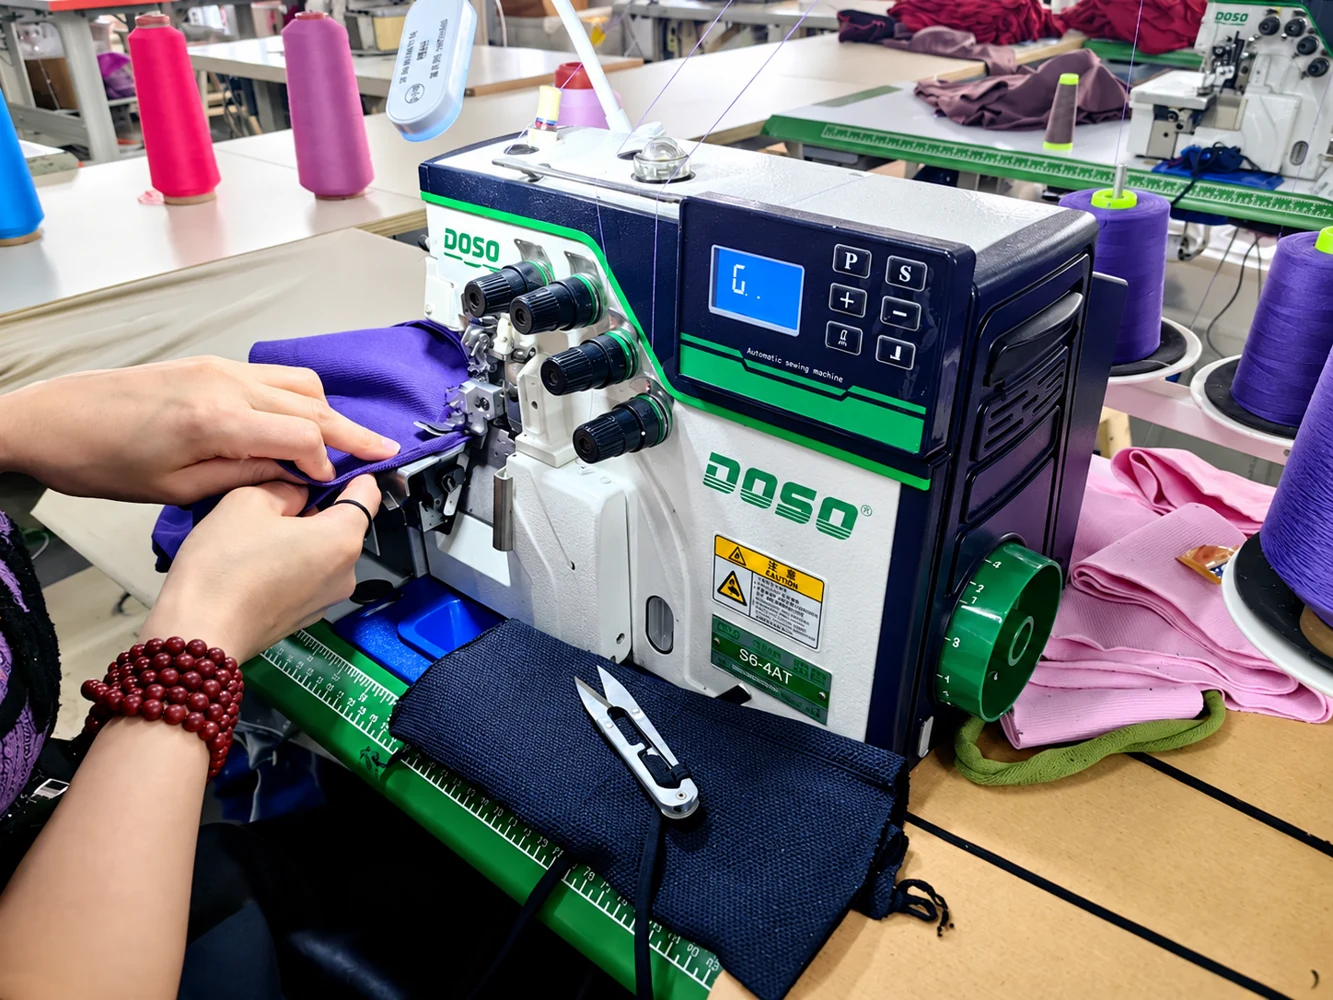
Agree the inspection protocol before production starts. Include defect descriptions, photographs, measurement methods, sampling rules and the route for correcting a failed result. The approved PP sample is a comparison reference, not a guarantee that every production unit will match it.
- Incoming inspection (IQC): identify material lots and examine shade, visible faults, width, shrinkage and other agreed properties before cutting.
- During-production review (DUPRO): inspect critical sewing or bonding operations, waistband performance and process settings while corrections remain practical.
- Final random inspection (FRI): define the lot, inspection level, normal or tightened plan, sample size and acceptance/rejection numbers using the agreed standard.
A commonly specified framework is ISO 2859-1 or ANSI/ASQ Z1.4, with AQL 2.5 for major and 4.0 for minor defects where agreed. For critical defects, specify an acceptance number of 0 and the required risk controls. “AQL 0” is not a substitute for defining the plan. These parameters do not mean that 2.5% or 4.0% defects are automatically acceptable in every shipment.
Create a photographic defect glossary
Show agreed pass/fail examples for skipped stitches, flatlock tunnelling, puckering and rough skin-contact areas. Test transfer adhesion and cracking at a defined extension and cycle count rather than stretching the print indiscriminately to the fabric’s ultimate limit. Review shade under agreed lighting against the approved colour standard.
Measure functional properties separately. ASTM D3786/D3786M addresses diaphragm bursting strength. AATCC TM79 addresses absorbency. Select the appropriate additional methods for stretch, recovery, wicking or other claims; record the specimen, conditions and acceptance threshold with the report.
Review TOP samples for hand feel, rough seams and label stiffness, and retain the signed records in the product archive. For a new supplier, consider an independent inspection agency such as SGS or QIMA. Agree how packing, carton sealing, corrections and final payment depend on the inspection result and buyer’s release.
Gate output: a completed inspection record, resolved nonconformities and the buyer’s documented shipment decision.
Step 9. Prepare the Launch and the Next Product Revision

Before dispatch, scan representative carton and unit barcodes against the SKU list. Check that labels, size identifiers, quantities and carton allocations reconcile to the order. Confirm which packaging warnings and language requirements apply in each destination rather than assuming that every market uses the same polybag rule.
Allocate inventory to wholesale, team orders and direct sales before enabling all channels. Keep final technical files, material approvals, inspection reports and artwork in one structured archive. Record promised and actual milestones so future sourcing decisions use evidence about supplier performance.
Convert customer feedback into a controlled investigation
| Customer observation | Investigation | Possible approved change |
|---|---|---|
| Scratchy contact area | Locate label, seam or thread irritation on the actual garment | Heat-transfer label or suitable soft textured nylon thread, after testing. |
| Runs small | Check body target, measurement method, size label and actual POM | Revise relaxed waist POM or grade rules only when evidence supports it. |
| Fabric appears sheer | Review colour, extension, construction and fit | Consider a different GSM or higher-coverage interlock, then retest. |
Check returned garments and their size, lot and wearing context before changing the specification. Record the suspected cause, test, proposed change, owner and approval evidence in a Version 2 development record. A complaint can suggest a line of investigation without proving that the grade rule or fabric weight is wrong.
Gate output: a launch-ready SKU and packing record, channel allocation and an evidence-based next-revision list.
Troubleshoot Common Development Problems
The sample does not match the intended design
Check missing dimensions, conflicting comments and unclear callouts. Annotate photographs, identify every material in the BOM and consolidate feedback through one approver. Ask the sample room to confirm its understanding before repeating a round.
The bulk fabric feels or looks different
Compare the actual roll and lot to the retained swatch, material code and colour approval. Request a sample from the incoming bulk roll before cutting. Investigate finish and dye-lot variation, then record any proposed substitution and its approval.
The final quote rises after approval
Reconcile consumption, trim, process, testing and delivery assumptions against the final BOM. Require the supplier to identify the changed line item. Recalculate the delivered cost rather than comparing two prices with different scopes.
Fit deteriorates across the size range
Check the grade rules and proportion-sensitive measurements with physical samples. A full XS–XXL size set can test endpoints, rise and armhole relationships where needed. Use the agreed size strategy instead of assuming every dimension scales linearly.
Peak-season capacity delays the schedule
Coordinate material transit and the booked factory slot. Agree a reservation milestone and include an illustrative 10-day contingency for the identified customs, QC or scheduling risks. It is a planning allowance, not a guarantee against every delay.
When to Hold the Next Production Step
- An unapproved material or component appears: identify affected units and hold the relevant operation until the change has been reviewed.
- Required compliance evidence is missing: verify certificate validity, product scope and material traceability. An OEKO-TEX certificate is not necessarily issued for each individual lot; link covered material and shipment records to it.
- The same defect returns in the second sample round: require a cause analysis, corrected instruction and evidence that the correction worked before proceeding.
Assign the hold to a named person and define the evidence needed to release it. A pause is useful when it prevents the unresolved issue from being multiplied across bulk production.
Questions About Apparel Product Development
How is a prototype different from a pre-production sample?
A prototype investigates the initial pattern, shape and construction. Substitute materials can be used when their limitations are recorded. A PP sample should represent the approved bulk fabric, trims, colour, decoration and packaging, with any difference explicitly resolved before the relevant release. Keep a signed physical reference and its linked specification.
How do I calculate total landed cost?
Start with the product price, then add the freight, duties, testing, brokerage and receiving or 3PL charges actually borne by the buyer. Check what is already included in the delivery quote. A duty scenario above 30% can be stress-tested, but it is not a universal synthetic-textile tariff: the actual rate depends on classification, origin, destination and current rules. Confirm the applicable tariff with the customs adviser for the shipment.
Why does each BOM component need a unique identifier?
A code such as FAB-BLK-220 connects a component to its approved specification, supplier and lot reference. It helps the buyer compare incoming material with the agreed record. Codes need receiving checks, retained swatches and substitution control to be effective; a label alone does not prove the material is correct.
Which quality standards should an activewear brief name?
Define the agreed ISO 2859-1 or equivalent inspection plan, including any chosen AQL 2.5/4.0 parameters, and list product-specific performance tests separately. ASTM D3786/D3786M is a bursting-strength method; AATCC TM79 measures absorbency. Agree other relevant methods, thresholds and conditioning for claims such as wicking, UV protection or recovery.
Can a physical reference sample replace the tech pack?
A sample shows an intended outcome but does not state every measurement, grade rule, component or acceptance criterion. Use it alongside the controlled technical record and order agreement. A missing tech pack can create ambiguity; it does not automatically determine whether a buyer has legal remedies under the relevant contract and law.
Final Checklist Before Committing the Order
- Measurable brief: intended use, performance priorities and fit reference are agreed.
- Released technical files: current revision, construction details and measurement methods are identifiable.
- Approved BOM: each fabric, trim and label has a controlled code and approved source.
- Dated gates: material, colour, fit, PP and inspection milestones have owners.
- Delivered economics: freight, duties, testing and handling are included once.
- Measurable QC: defect criteria, sampling parameters and performance tests are written into the agreement.
Your next development action
Choose one hero SKU, such as a core legging or sports bra, and run it through the complete process. This pilot can expose gaps in your files, sourcing and approvals before a wider collection expands the workload. Set the quantity and commercial terms to suit the product and supplier rather than treating a pilot as risk-free.
Reviewed October 30, 2026. The sports-bra example is company-reported. Budget, timing, payment and inspection examples require an order-specific agreement. Send a correction to the content team.
Related Posts


READY TO DEVELOP YOUR NEXT SKU?
Start With a Brief the Factory Can Use
Bring Sportxia your product goal, reference materials and target timeline. We will help define the next development step.
Discuss Your Sportswear Project
Leave a Reply