How to Diagnose and Fix Activewear Fit Issues: A Technical Guide

Trace slipping waistbands, front-seam pressure, bra movement and chafing to measurable fit, fabric and construction decisions.
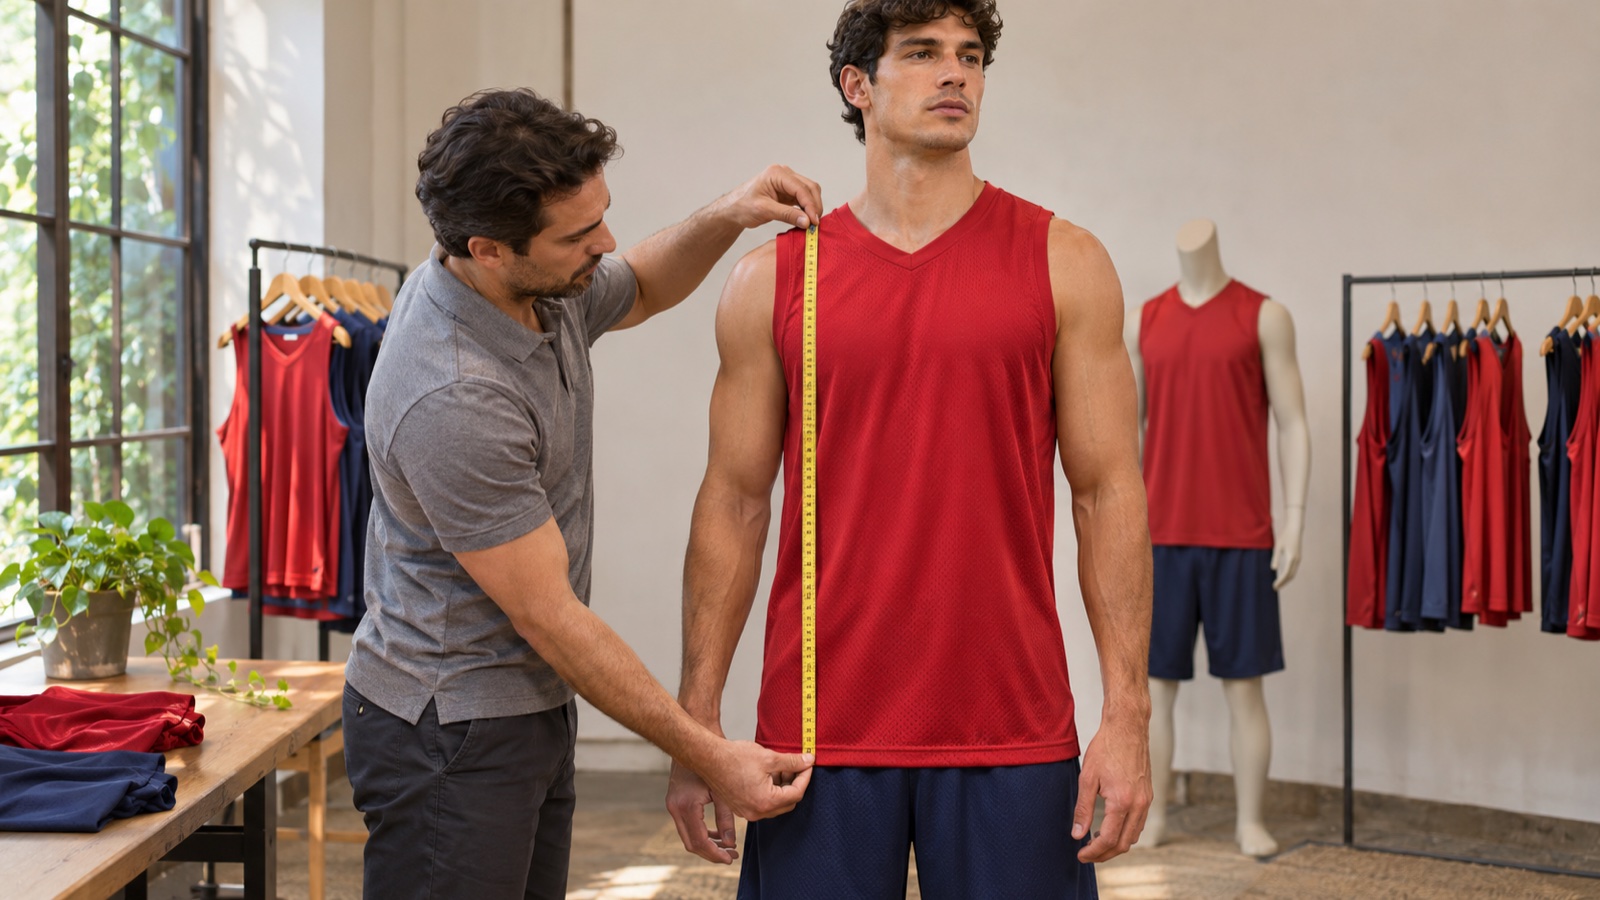
A waistband that migrates during a set, or leggings that become transparent in a lunge, deserves a technical investigation. Changing your body is not the corrective action. Start with three connected inputs: body and garment measurements, the pattern block, and the fabric’s behaviour at the required extension.
At Sportxia, our review of thousands of production samples has made those inputs central to fit discussions. This guide connects a practical wearer check with the evidence a brand should send back to its pattern and sample team. Allow 15–30 minutes for an initial diagnostic; a repeat wear session or laboratory test requires additional time.
Define success before testing: stable placement through the intended movement, adequate coverage in relevant lighting, comfortable breathing and no painful seam pressure or skin irritation. Those observations are more useful than a size letter or a sensation of extreme tightness.
What You Need Before Testing
Preparation: approximately 10 minutes. Difficulty: beginner for the wearer screen. This is separate from the 15–30-minute initial diagnostic and the longer checks below. Do not compress every protocol into a promised ten-minute exercise.
The diagnostic toolkit
- Soft vinyl measuring tape: a flexible tape can follow body contours; a rigid construction tape is unsuitable for consistent waist, hip and underbust measurements.
- Phone with rear camera: use a stable position and repeatable distance. Rear-camera recording is often convenient; either camera can distort proportions if too close. Photograph the same movement from front, side and back where appropriate.
- Bright task light: combine ordinary room light with a consistent brighter light for an opacity screen. Keep the angle, distance and background comparable between samples.
- Optional care and comfort items: a suitable anti-chafe product for intact skin, a manufacturer-compatible lingerie extender, and fabric-safe detergent. These help distinguish a temporary comfort adjustment from a construction change.
Collect the garment data
Record actual body measurements and the brand’s size chart, then the style, size, colour, age, wash history and intended sport. Think like a technical designer assessing fit and construction: identify what changed and which dimension or material could explain it.
- Fibre percentages: an example is 80% nylon / 20% spandex. Composition identifies ingredients, not the force or recovery of the finished knit.
- GSM: mass per unit area is a useful sourcing input. A 220+ GSM nylon/elastane interlock is a sensible candidate to evaluate for squat coverage, rather than a guaranteed pass.
- Yarn size: denier describes linear density; filament count, knit gauge and stitch length also influence the result.
- Construction: note gusset shape, front rise, seam position, elastic type, lining and strap adjustment. Save the relevant tech-pack measurement and construction pages.
Eight Steps to Diagnose and Fix Activewear Fit Issues
Test the current garment before making it smaller, tighter or more heavily compressed. Change one variable at a time and repeat the same movement. For bulk development, record observations against the approved fit model and intended customer size range.
1. Identify the Movement That Exposes the Failure

Perform three comfortable bodyweight squats and, if appropriate for you, hold the bottom position of the third for five seconds. Use a mirror, recording or observer to locate the first movement of the garment.
- The whole garment drops: if both crotch and waistband descend, investigate excess garment volume, insufficient elastic holding force, poor recovery or the wrong pattern for the wearer. A larger size is only one possible cause.
- The waist stays but fabric pools at the knees: compare hip, thigh, knee and leg-length dimensions. A waist-to-hip grading mismatch, excess length or fabric movement may be involved; pooling alone does not establish which ratio is wrong.
- The waistband flips or rolls: check where the top edge sits during bending, whether it meets the ribs, how the front and back rise balance, and how the elastic behaves. A tall rise can fold on a shorter torso, while a soft or overstretched band can roll for other reasons.
Write down the starting position and the point of failure. “Waist drops after the third squat” gives a technician a repeatable condition; “size M is bad” does not. Compare the garment to the specified body-size and garment-measurement system.
2. Try Reversible Field Adjustments
When a return is unavailable, a temporary adjustment can reveal the cause, but it should not conceal failed coverage or painful pressure.
- Screen opacity before sizing down. Stretch the material only to the extension created by the wearer’s actual movement. If coverage disappears, adding more tension is unlikely to solve the problem.
- Set a continuous drawcord evenly. Adjust it snugly without restricting breathing or creating local pressure, then repeat 10 squats if comfortable. Check whether the channel distributes the force instead of gathering the front into a hard knot.
- Compare a compatible underlayer. Sportxia’s wear-test experience includes cotton underwear providing more grip than bare skin against some smooth nylon 6.6 leggings. Treat that as a material-specific observation. Cotton retains moisture and can increase friction during sustained exercise; stop using the combination if it becomes damp or rubs.
If a suitable underlayer or drawcord stabilises the garment only briefly, retain the observation for the pattern review. Adding friction is not a substitute for a correct waist-to-hip relationship, adequate rise and stable elastic.
3. Use a Manufacturing Checklist When Choosing the Next Sample
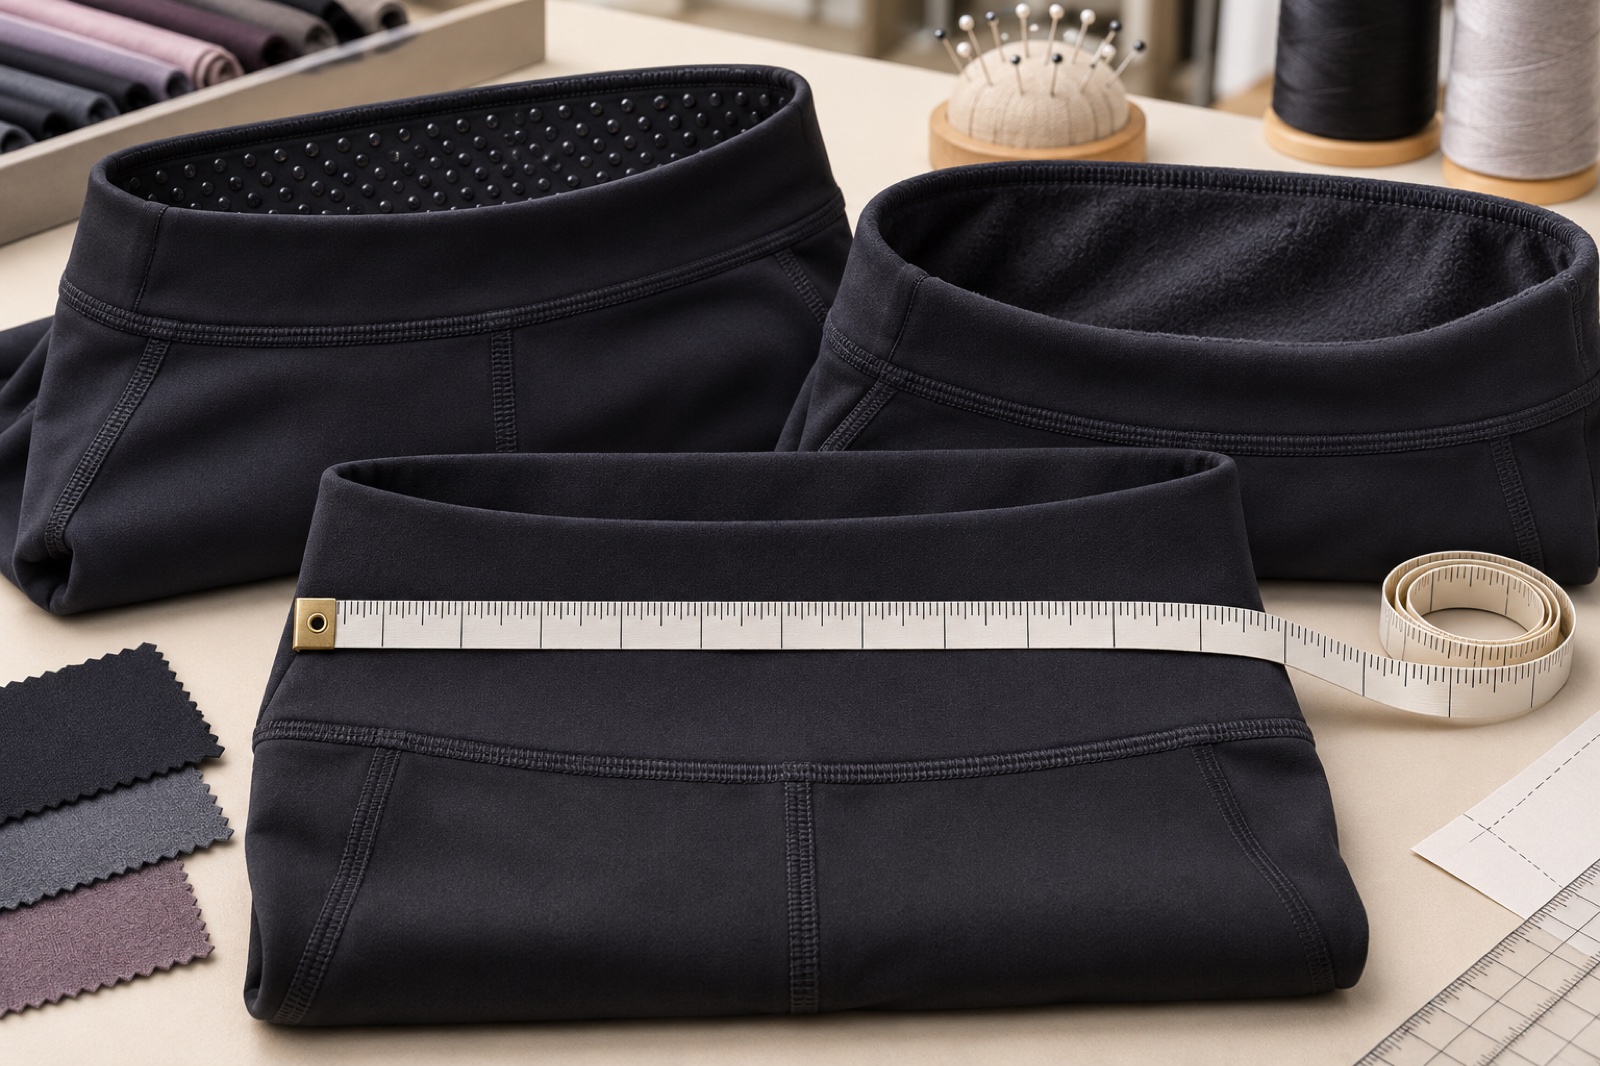
Replace vague “premium compression” language with the dimensions and material behaviour you need. Three useful screening questions concern band width, inner finish and recovery.
- Band width: compare a wide waistband around 4 inches (10.16 cm) or more against the wearer’s torso and intended movement. Width adds contact area, but a wider band can still fold or press into the ribs. Four inches is not exactly 10 cm and is not a universal minimum.
- Inside finish: compare a silicone gripper, a brushed or peached surface, or an appropriate enclosed elastic. Confirm grip when damp, skin comfort, wash durability and the placement of any gripper.
- Recovery: a label with more than 15% elastane may be a sourcing lead, but less than 15% does not automatically mean poor support. Ask for extension, holding-force and recovery data on the selected material after the agreed laundering programme.
For elastic fabrics, a laboratory can consider a method such as ASTM D4964 for tension and elongation, with the appropriate test conditions agreed. A method intended for low-power knits should not be assumed suitable for every compression product.
Quick repeatability check
Walk on a treadmill for three minutes, then perform 10 squats where suitable. Record band displacement and every manual adjustment. An agreed objective can be no adjustment and a flat, stable band; a sharp cord-like sensation needs a review of pressure, elastic width or placement rather than more tightening.
4. Resolve Front-Seam Pressure and Rise Balance

A concentrated front seam can be uncomfortable even when the waist measurement appears correct. Investigate front-rise length and curve, crotch extension, fabric tension, gusset geometry and seam bulk together.
- Distribute the garment before settling the waist. Gently move fabric up from the thighs to release excess local tension, then position the band. Repeatedly pulling only the waistband upward can increase crotch pressure.
- Inspect the inside junction. A diamond gusset can spread stress away from a bulky seam crossing. A U-shaped gusset or front-seam-free construction is another design option. Neither shape is mandatory for all bodies or activities; inspect seam alignment and how the panel stretches.
- Evaluate a smooth barrier only if comfortable. A compatible seamless underlayer with a flat front can reduce direct seam contact. It cannot add missing rise length or repair a restrictive pattern.
Repeat check: walk 20 steps and perform three comfortable lunges. If pressure returns immediately, stop and review the pattern or choose another garment. Record the affected seam and posture for the cut-and-sew development team; do not conclude that no alteration could ever help merely from one brief test.
5. Fit the Sports Bra in Band–Cup–Strap Order
Begin with the underband, then assess cup capacity and strap placement. The familiar “80% of support from the band” figure is a fitting shorthand, not a measured load split for every sports bra. Support comes from the combined design, material, cups, band and straps.
- Set the underband. Raise the arms overhead and observe whether the back band arches upward. Review band circumference, elastic force, cup fit and strap tension before automatically choosing a smaller size. The band should remain reasonably level and allow a full comfortable breath.
- Assess cup volume and coverage. Spillage at the neckline or armhole can indicate insufficient volume or the wrong cup shape. Wrinkling or a gap can indicate excess room, but over-tight straps may also lift a cup away. Compare compression, encapsulation or combination construction for the intended impact level.
- Adjust the straps. Straps also contribute to support; they are not merely decorative stabilisers. Loosen excessive tension and reassess the whole fit if they dig. For slipping, check slider security, length and attachment angle. Racerback or cross-back patterns can help some wearers but can also change pressure.
- Run the movement check. If appropriate, do 10 jumping jacks followed by an overhead reach. Measure underband movement. The reference screening limit of 1 inch (2.54 cm) can be logged as a project-specific observation; less movement does not alone establish adequate support or comfort.
Do not assign running suitability solely from a “yoga” label, seamless construction or fibre composition. Test the actual style and size. Sports-bra performance research examines combinations of design features, reinforcing the need to evaluate the complete garment.
6. Locate Friction Before It Becomes a Skin Problem
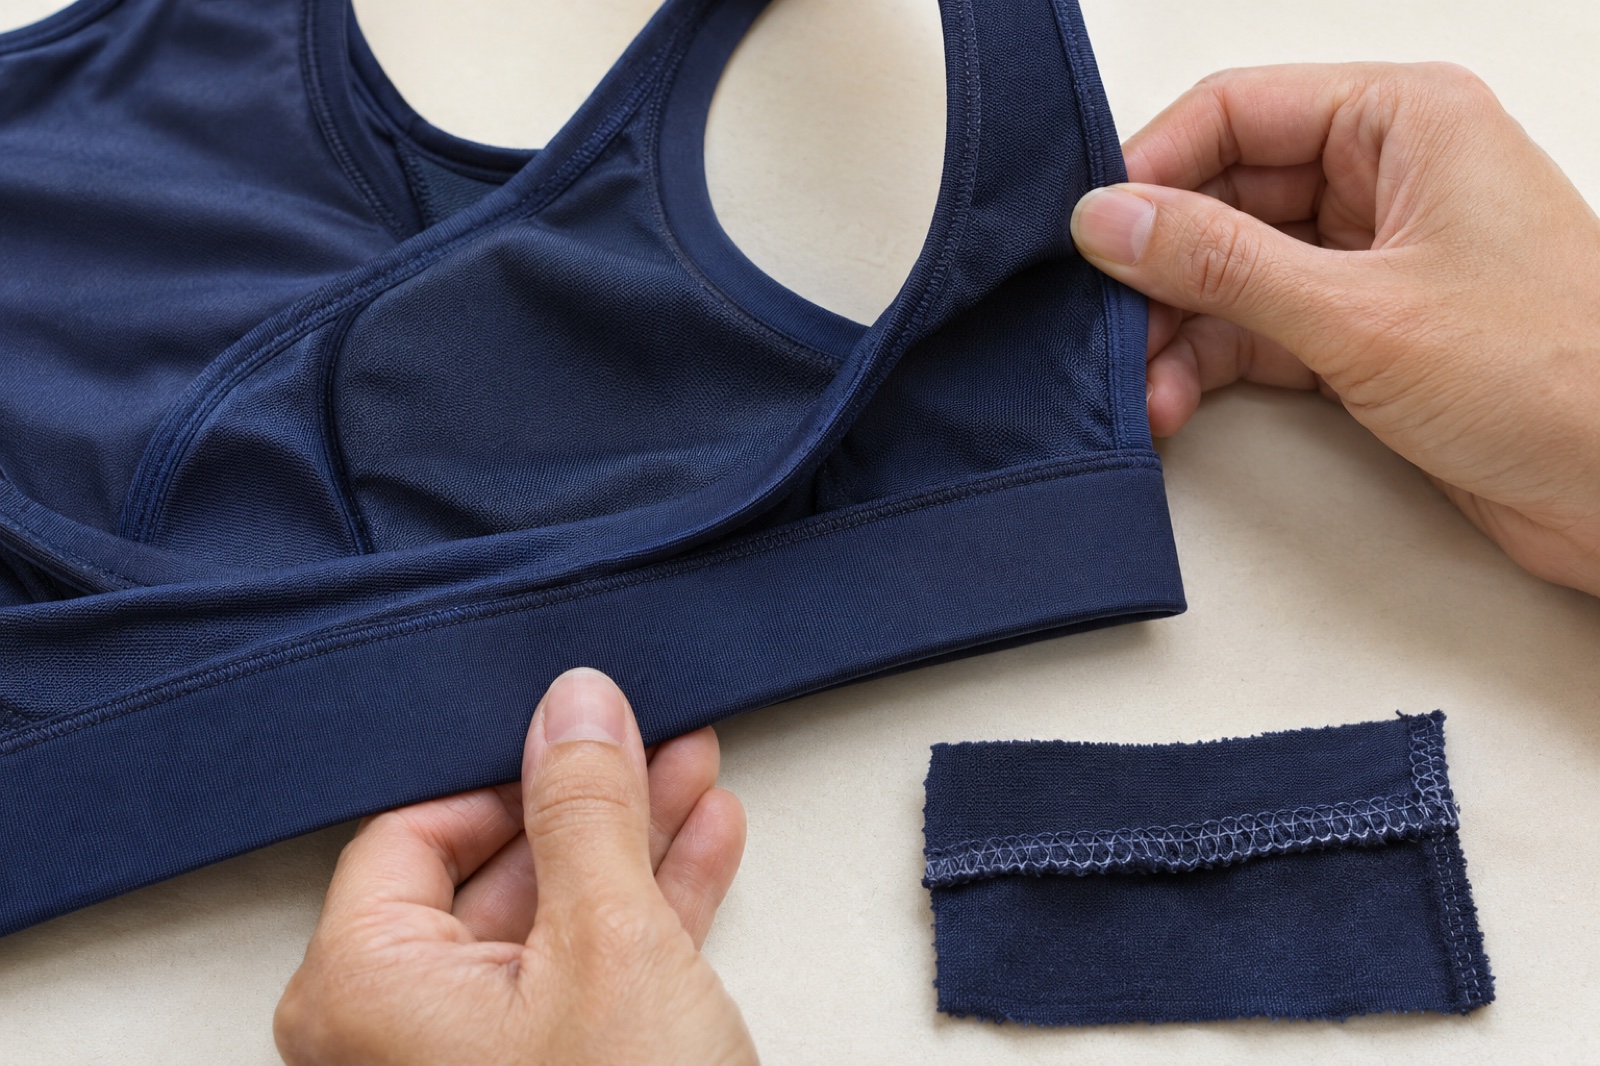
Check the interaction of friction, moisture, pressure and rough construction. Sweat residues and repeated movement can aggravate a seam that felt soft when dry. Run a finger along the inside underband, side wings and strap edges while the garment is off the body.
- Map the hot spot: note the precise location, the movement and whether the garment was wet. Inspect ridges, cut edges, exposed elastic and abrasive thread ends.
- Reduce friction on intact skin: use a suitable product according to its directions if needed. The American Academy of Dermatology’s friction guidance includes protecting problem areas and stopping when discomfort or redness develops.
- Flatten the assembly: check that the band and elastic lie flat. Compare enclosed elastic, a smoother seam finish or a repositioned edge during development.
- Reassess after washing: inspect changes in hand feel, curling and seam exposure. A flatlock or seamless label does not guarantee that a finished garment cannot rub.
A planned 20-minute wear check can reveal changes over time. If a spot becomes hot or stings within 10 minutes, end the test then; do not wait for the planned finish. These times structure an observation, not a medical diagnosis.
Redness without an obvious rubbing point is not enough to diagnose chemical sensitivity. Remove the garment and obtain advice when needed. Check any STANDARD 100 claim through the official label lookup, while keeping substance testing separate from individual tolerance.
7. Separate Wicking, Drying and Care Problems
A fabric feeling wet against the body does not identify one failed chemical finish. Moisture transport depends on fibre surface, yarn, knit channels, finishing and the environment. Wicking and drying are different properties; a material can spread water while remaining wet in humid air.
- Document the clammy stage: record when cling begins, the workout, temperature and humidity. Compare a clean sample and the current garment under similar conditions.
- Review care: rinse promptly where permitted, with within 30 minutes as a practical routine rather than a mandatory technical limit. Follow the care label and use compatible detergent. Avoid fabric softener when the garment maker instructs this; deposits can interfere with moisture-handling performance.
- Protect the elastic: use the specified drying method and avoid excessive heat. Air drying may be suitable for many styles, but follow the garment’s instructions. Odour is not proof that elastane has been thermally destroyed.
- Retest before replacement: if the garment still feels heavy after correct care, compare water transport, drying and fabric recovery. Persistent wetness alone does not prove that a finish is permanently dead. Mechanical capillary structures such as textured or honeycomb knits also require performance evaluation.
For development, distinguish AATCC TM197 vertical wicking to specified distances from moisture management and drying methods. Specify the method, conditioning, direction, endpoint and wash stage before comparing reports.
8. Compare Dynamic and Static Performance
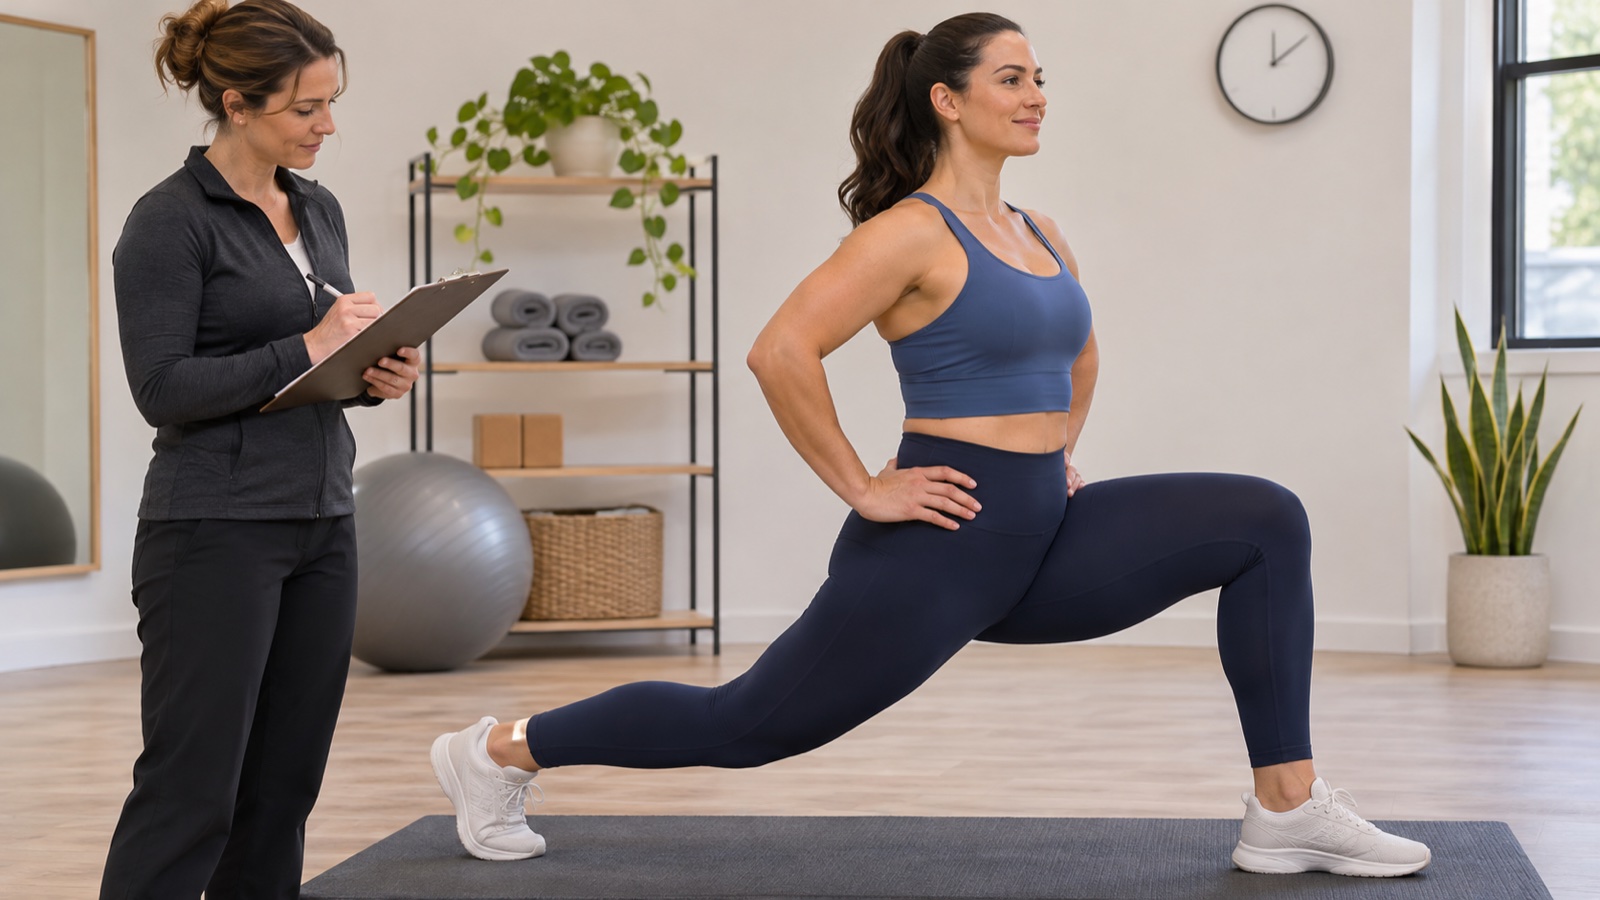
Repeat the test in a suitable exercise environment, with movements matched to your ability. A dry standing fit does not establish how a garment will behave after warming up. Test one garment or revision at a time and keep the starting conditions comparable.
Test A — six minutes of dynamic movement
Use 30 seconds of activity / 30 seconds of rest for six cycles, totalling six minutes. Appropriate options include high knees, skipping or cycling; use comfortable step-ups or incline walking when lower impact is preferable. They are alternatives, not a guarantee of equivalent heat or exercise intensity.
Observe waistband movement as moisture and activity increase. Moisture can alter friction at the skin–fabric interface; saying it “lubricates elastane” oversimplifies the mechanism. Compare the starting position with the end of the interval block.
Test B — six minutes of controlled stretch
For another six minutes, use comfortable versions of a deep lunge, forward fold or pigeon-style position, where suitable. Repeat an eight-hold sequence of 45 seconds, choosing sides and movements consistently. Use shorter holds or a supported alternative when necessary and record the change.
Look for fabric grin-through, seam pressure, band folding and strap movement. Transparency can reflect excessive extension, low cover factor, colour or construction; it does not prove incorrect grading by itself.
Log the exact failure point
- Adjustment frequency: more than one adjustment per minute is a practical trigger for review, not proof of a single rise defect.
- Change over time: compare minute 1 with minute 4. A stable band that later slips calls for a review of wet friction, garment dimensions and elastic recovery.
- Strap angle: if straps move during a fold, inspect length, adjustment security and anchor spacing before changing the pattern.
- Longer use: extend the observation where needed. A garment that passes dry checks but fails after 10 minutes of cardio needs a repeatable wet-use investigation, not an automatic diagnosis of low-modulus elastane.
Keep, alter or replace
Keep: intended movement is comfortable, the fabric stays opaque and placement is stable without repeated adjustment. Alter or revise: the issue is a clearly identified, feasible change such as strap length. Replace or redevelop: coverage, recovery or pressure remains unsuitable after correct sizing and adjustment. Link sample comments to the sample-approval stage before releasing bulk.
Troubleshooting Five Common Fit Failures
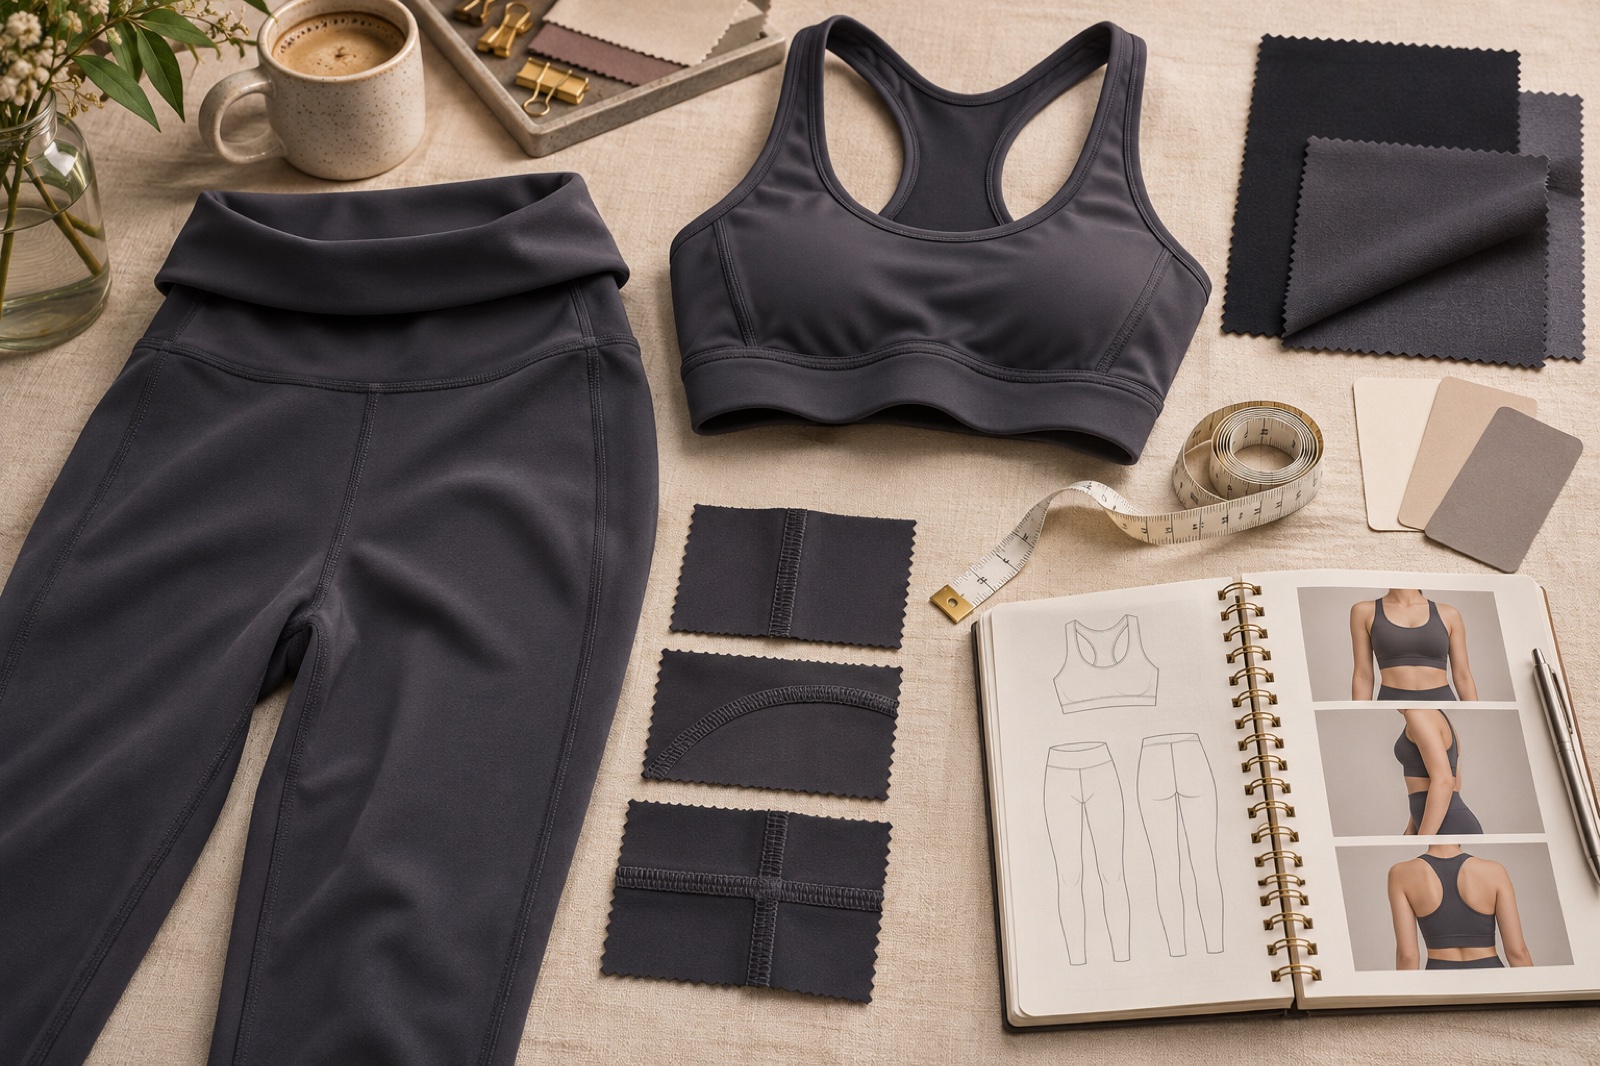
Making a slipping garment smaller can add tension without improving its anchor. It can also reduce opacity or increase pressure. Use each symptom to narrow the investigation, then verify the proposed correction.
1. Leggings become see-through
Check: actual extension, colour, surface coverage and local pattern tension. Materials below 220 GSM deserve careful screening, but heavier materials can also fail.
Correct: return to the appropriate size, compare a denser interlock or double-knit construction and repeat the same light-and-movement check. A fist or knuckle test inside a leg is a quick screening aid; uncontrolled hand stretch is not a standardised squat-proof certification.
2. A high-rise waistband rolls down
Check: torso-to-rise compatibility, band stiffness, elastic dimensions and the way the panel folds during bending.
Correct: compare a mid-rise or different rise curve, an appropriate bonded waistband, or enclosed elastic. A soft folded edge may work on another style. If safe for you, repeat three burpees or the same comfortable bending sequence. Check both stability and pressure rather than declaring every flat band correct.
3. The sports-bra band rides up
Check: band size, elastic recovery, cup volume and excessive strap tension. Permanent rippling or distortion can indicate deterioration, but first assess the correct size and adjustment.
Correct: replace a worn unit or compare a properly fitted higher-support design. Encapsulation or combination cups may help; no construction label guarantees the result. Repeat 10 jumping jacks where suitable and log band shift against the illustrative 1-inch screen together with movement comfort.
4. Chafing persists despite a barrier product
Check: seam bulk, rough edges, moisture, residues and concentrated pressure. Stop at pain or skin damage.
Correct: assess a smoother flat seam or seamless area, and launder according to the care instructions. Do not assume a white-vinegar soak is suitable for every elastic, dye, coating or trim. Use only a care method approved for the garment; a rinse can remove soluble sweat salts without an unapproved acid treatment.
5. Sweat handling seems worse than before
Check: detergent or softener residue, repeated wear without adequate cleaning, wash conditions and environmental changes.
Correct: use the maker’s recommended detergent and rinse procedure, avoid incompatible softeners, and follow drying directions. A sports detergent is an option when permitted. Vinegar is not a universal reset treatment; compare performance after care before deciding whether replacement is needed. Brooks’ sports-bra care guidance also cautions against fabric softener.
Know When to Retire the Garment
- Loss of recovery: the band remains stretched or rippled instead of returning to its previous dimensions after rest.
- Permanent distortion: a bra underband stays curled or twisted, or damaged components cannot be repaired appropriately.
- Repeated migration: more than three adjustments in a warm-up warrants reassessment. It is a review trigger rather than an automatic expiry rule.
Trust the measurement and repeat wear evidence. Slipping may result from excess size, excess local tension, an unsuitable block, wet friction or weak elastic. Tightness alone cannot distinguish those causes.
Questions About Activewear Fit Issues
Why do leggings slide down even when they feel tight?
A garment can be stretched firmly over the hips while the waistband still lacks an effective anchor. Review rise balance, waist-to-hip shaping, elastic force and recovery. Start from the hip measurement and actual size chart; do not keep sizing down simply to increase the sensation of compression.
Which fabric specification should I request for squat-proof leggings?
Evaluate a nylon/elastane interlock around 220 GSM or higher as one starting candidate. Materials below 200 GSM can need particular attention to coverage, but neither range is a universal pass/fail. Polyester jersey is not automatically unsuitable, and high-gauge knitting alone does not prove opacity. Require the selected colour and size to pass a defined stretch, lighting and wear evaluation.
How often should I replace a sports bra?
A 6–12-month review interval is a reminder to inspect a regularly used bra, not an expiry date for every weekly wearer. Sportxia has observed a noticeable reduction in recovery after 30–40 wash cycles in durability testing on some constructions. That company experience does not establish the lifespan of every fibre blend. Replace when fit, support or component condition is no longer suitable; tightening the straps cannot restore worn elastic.
Why is a medium different between brands?
Brands select different target customers, fit models, base patterns and grading rules. A US-labelled medium may differ substantially from another supplier’s XL, but there is no fixed US-to-Asian conversion. At Sportxia, confirm the client’s chart in centimetres or inches, how each measurement is taken and the difference between body and finished-garment dimensions.
Can I manage a rolling waistband without sewing?
Some styles respond to an even drawcord adjustment or a compatible change of underlayer. Folding a soft band changes its height and can create pressure or cover a drawcord, so try it only when it remains comfortable and functional. These are reversible trials; a persistent rise or elastic problem needs another size, design or properly assessed alteration.
Turn Fit Observations into a Production Decision
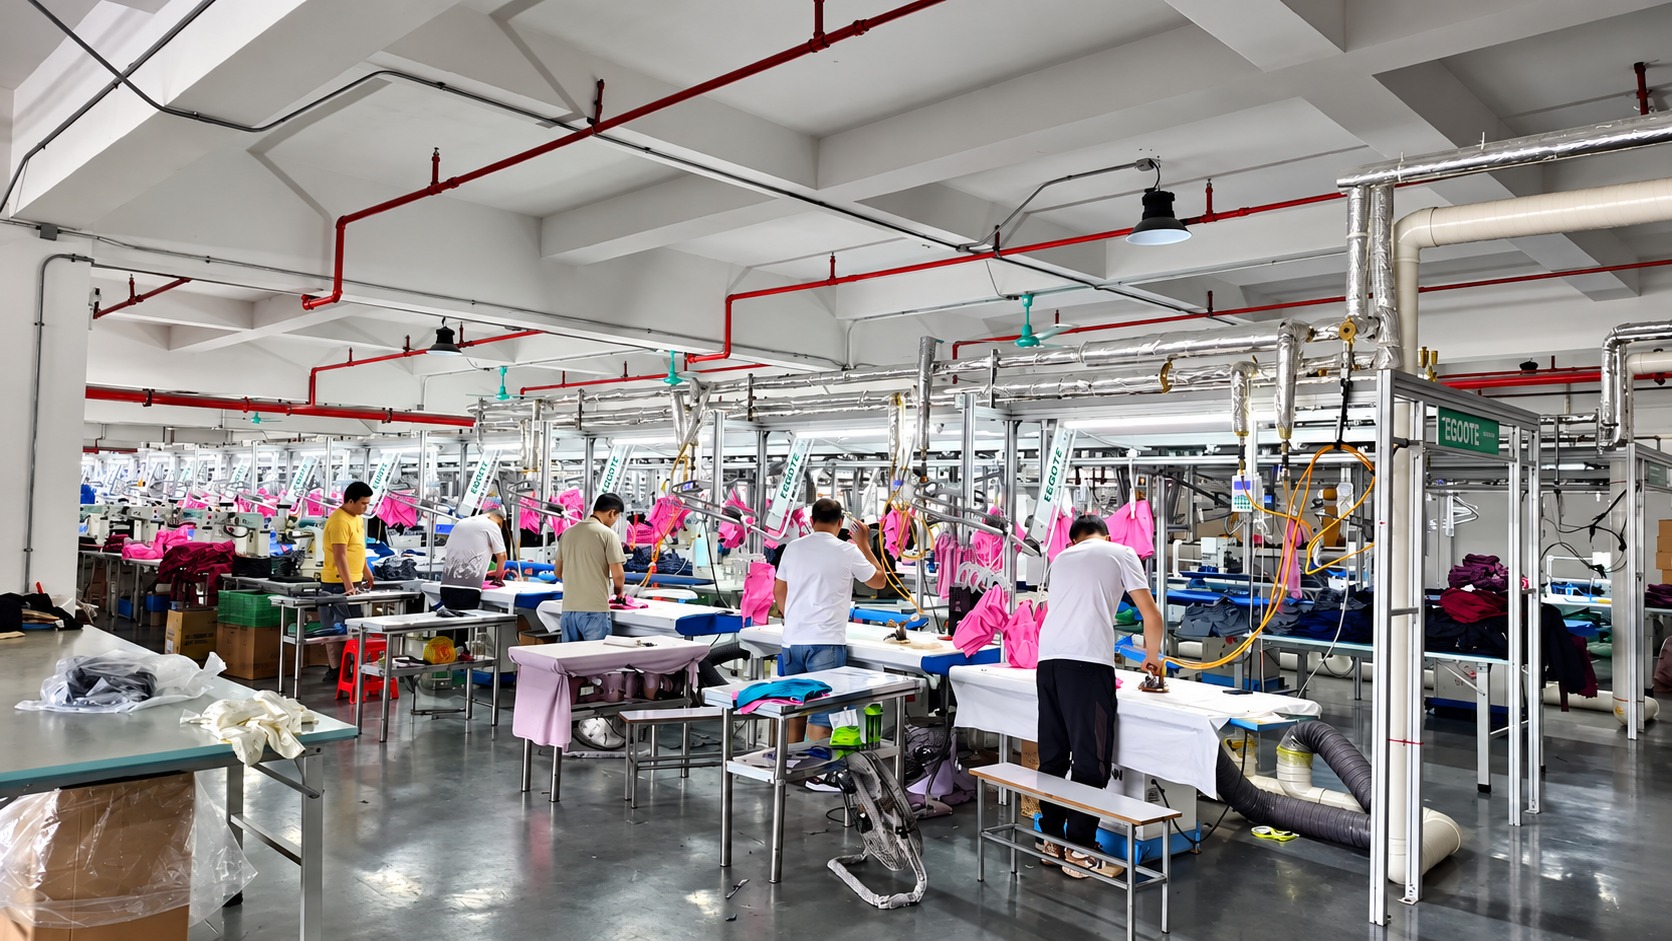
The useful outcome is a controlled record: actual body dimensions, garment measurements, a repeatable movement and the proposed material or pattern correction. Our experience reviewing thousands of samples informs this approach within Sportxia’s 16,000 m² Hangzhou manufacturing programme; it is not a substitute for the evidence applicable to your style.
- Measurements saved: waist, hip and underbust, with units and repeatable landmarks.
- Coverage checked: the selected colour at relevant extension and recorded light conditions, including the brighter flash or task-light screen.
- Cause investigated: distinguish material cover and recovery from rise, elastic, seam or grading issues.
- Bra fitting order applied: band, then cup capacity and straps, followed by activity-specific evaluation.
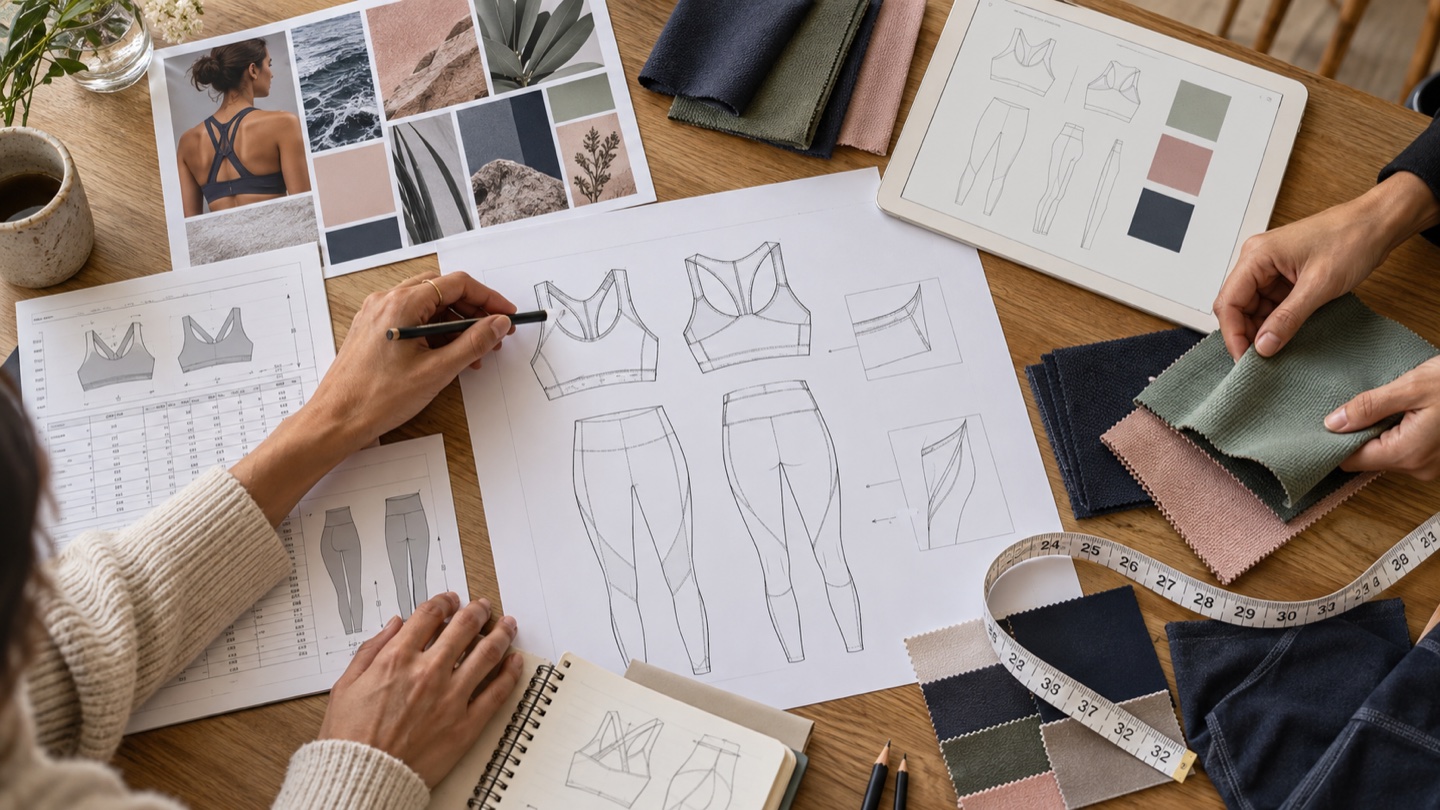
For a brand managing fit-related returns, decide which person owns the correction. Our technical designer versus fashion designer guide explains the difference between visual direction and production-ready specifications. Use the product-development approval process to control revised samples rather than issuing disconnected comments.
Send the material reference, measured points, fit photographs and movement observations through our manufacturing services discussion. Standard planning ranges are 7–15 days for sampling and 15–30 days for bulk, subject to the agreed programme and approvals.
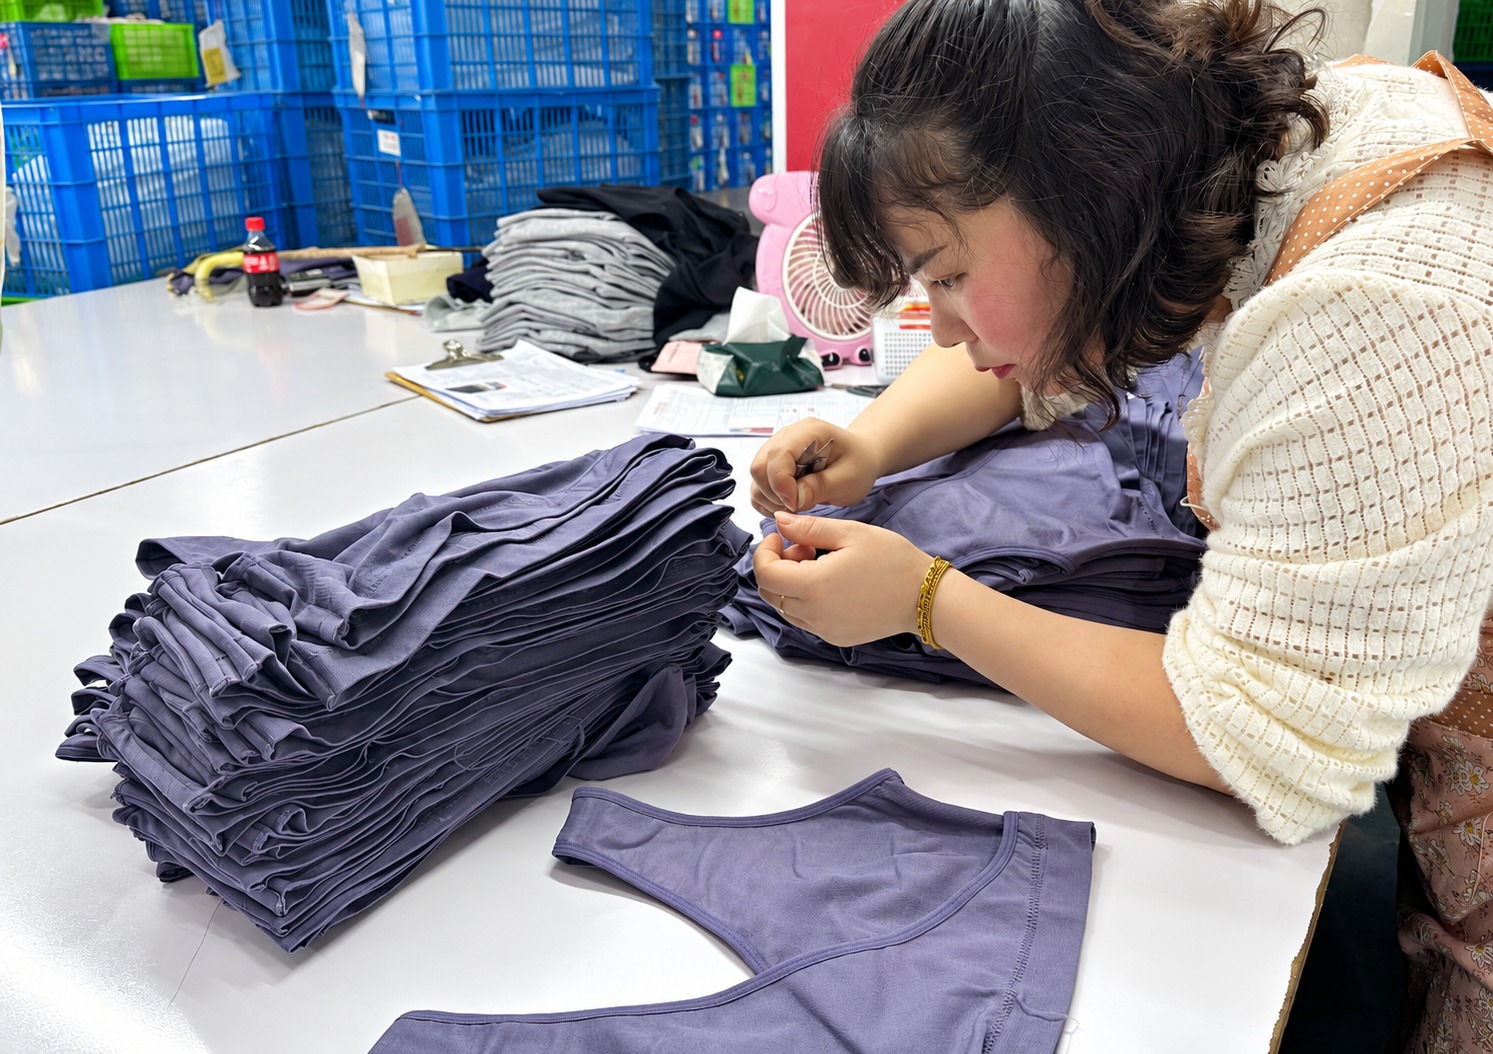
Reviewed November 4, 2026. Sample-review experience, the cotton/nylon 6.6 comparison and the 30–40-wash observation are company-reported. Movement counts, times and material ranges are screening examples, not universal certification thresholds. Fit photographs illustrate the process; the factory-library photograph shows real inspection work. Send a correction.
Related Posts

READY TO IMPROVE YOUR NEXT FIT SAMPLE?
Build the Correction into the Specification
Share your garment measurements, intended sport and sample observations. Sportxia will help define the pattern, material and approval checks for your project.
Discuss Your Sportswear Project
Leave a Reply