Clothing Sample Stages: A Step-by-Step Production Timeline

Know what each clothing sample must prove, who approves it and when the next stage can begin. Build a practical route from tech pack to fit approval, PP, TOP and shipment.
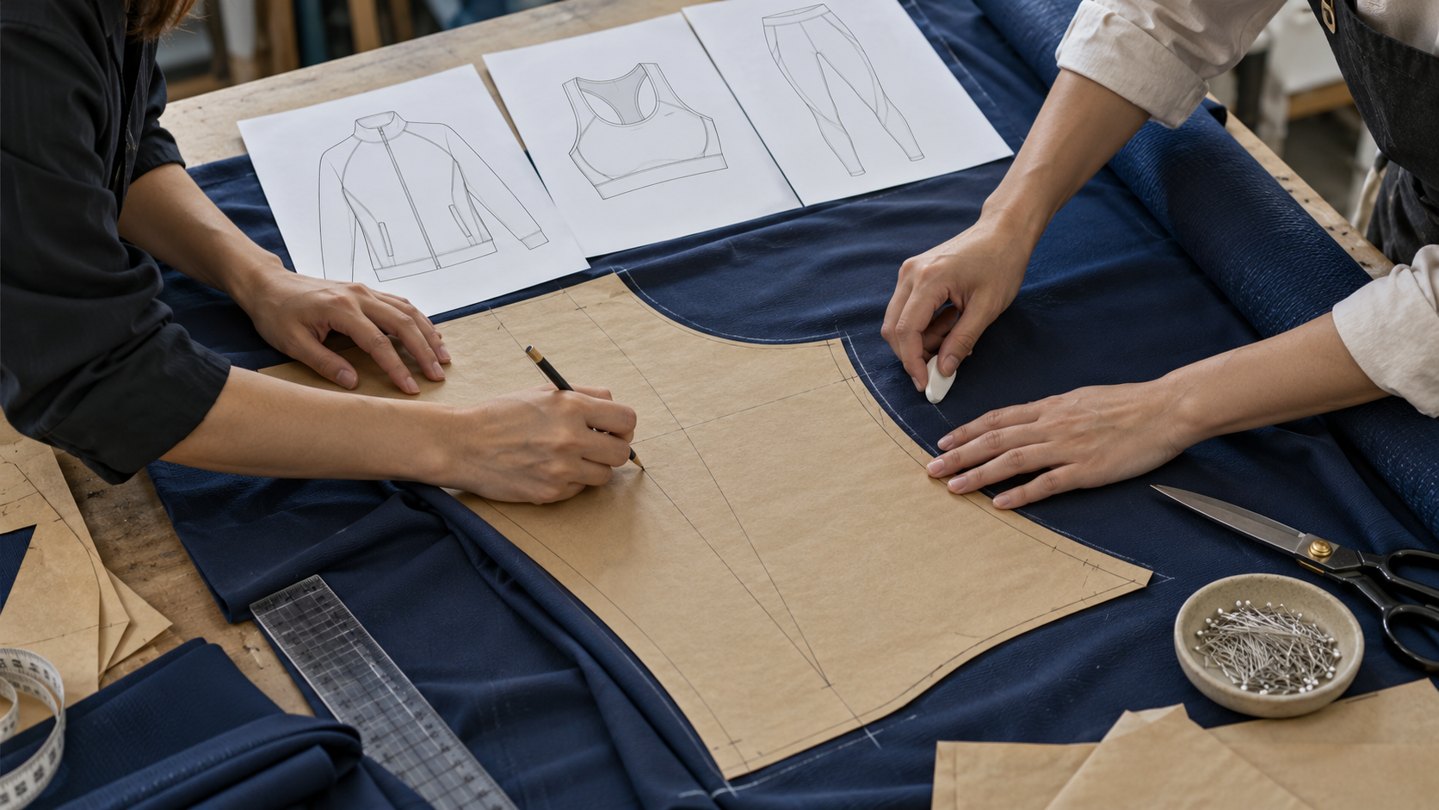
A sample is useful when it answers a defined production question. Does the pattern create the intended shape? Does the garment fit the agreed body measurements? Can the production line repeat the result using the ordered materials? Combining all three questions into one informal approval makes it difficult to locate the cause of a later failure.
At Sportxia, we recommend a dated approval record for each clothing sample stage. The route is tech pack → prototype → fit revisions → pre-production (PP) → top of production (TOP) → shipment. Salesman samples and size sets sit alongside this route when the sales channel or size range needs them. Use the checklist below to keep development, commercial decisions and bulk readiness connected.
To place sampling within the wider process, see our apparel product development guide covering the initial brief, materials, costing and production release.
What to Prepare Before Sampling Begins

A brief the sample room can use
- Product purpose: customer, sport, movement and required coverage or compression.
- Commercial scope: target FOB price and intended quantity. A 100-unit trial and a 5,000-unit repeat programme may need different material and setup choices.
- Visual priorities: identify required construction details separately from optional styling.
- Branding: current vector artwork, label copy and decoration positions.
People, tools and records
- Adobe Illustrator or equivalent vector files, plus an Excel/Google Sheets specification.
- A fit model or dress form with recorded body measurements and a tailor’s tape.
- One master version register or PLM system, with an assigned buyer approver.
- A named factory contact who can coordinate patterning, material sourcing and sewing.
Define the base size, chemical requirements, fiber labeling, care information and country of origin before ordering labels. Review the relevant scope of OEKO-TEX STANDARD 100 where it forms part of your material specification. Agree suitable confidentiality terms before sharing protected graded patterns or vector artwork.
Sampling Timeline Checklist
Download an editable CSV with stage owners, timing ranges, approval evidence and status columns. Open it in Excel or Google Sheets and enter your project dates.
Download Sampling Checklist (CSV)Step 1. Build the Time & Action Calendar
Start with your warehouse or launch deadline and work backward through production, approval, transport and sample reviews. Give each task an owner, target date, actual date and status. Record what the next task depends on, so a delayed trim approval can be distinguished from a delayed pattern.
The calendar should show decisions as well as factory work. For example, “fit sample received” and “buyer comments returned” are separate milestones. The factory cannot revise the pattern while the buyer’s comments are still unresolved.
A useful status system
Use Not started / In progress / Awaiting buyer / Awaiting material / Approved / Revision required. Add the unresolved issue and its owner. A green date with an outstanding fabric substitution is not a cleared production gate.
Step 2. Put Three Approval Gates on the Calendar
These three checkpoints keep the project moving in a controlled order. Define what evidence closes each gate and which work may proceed in parallel while it remains open.
- Gate 1 — technical brief released: freeze the agreed BOM and tech-pack version, such as TP_v1.0. List unresolved options instead of letting them become assumed approvals.
- Gate 2 — fit accepted: approve the pattern against measurements and movement checks. A 3D review can support early decisions; retain the agreed physical reference when material behavior and construction require physical confirmation.
- Gate 3 — PP accepted: review the pre-production garment made with the ordered bulk materials and intended production methods before releasing mass cutting.
Label the retained fit reference or counter sample clearly. It controls fit; the approved PP garment connects that fit to bulk materials, trims and production settings. Keep both when they establish different decisions.
Step 3. Assign Owners and Realistic Durations
The factory manages its pattern room, sourcing, sewing and sample dispatch. The brand supplies complete instructions and consolidated feedback. A courier service or nominated logistics contact manages the delivery leg. Put a named person against each responsibility.
| Activity | Owner | Planning range | Typical hold |
|---|---|---|---|
| Prototype / 3D review | Factory | 7–14 days | Incomplete BOM or unresolved construction |
| Fit review | Brand | 2–5 days | Buyer comments not consolidated |
| Sample revisions | Factory | 7–10 days | Changes outside the agreed brief |
| Courier delivery | Logistics contact | 3–5 days | Address, documentation or customs issue |
| Pre-production sample | Factory | 10–14 days | Final fabric or trim not available |
These ranges are planning inputs, not a promise that every activity can run simultaneously. Add 2–4 weeks when custom dyeing or knitting requires it. The broader development allowance is 30–60 days from a usable tech pack to production approval, with the specific plan depending on materials, revision rounds and delivery.
Sportxia’s advice: revise the launch plan when a critical sample fails. A short deadline does not resolve a failed fit, unapproved colour or missing component.
Step 4. Make the Tech Pack Usable at the Cutting Table
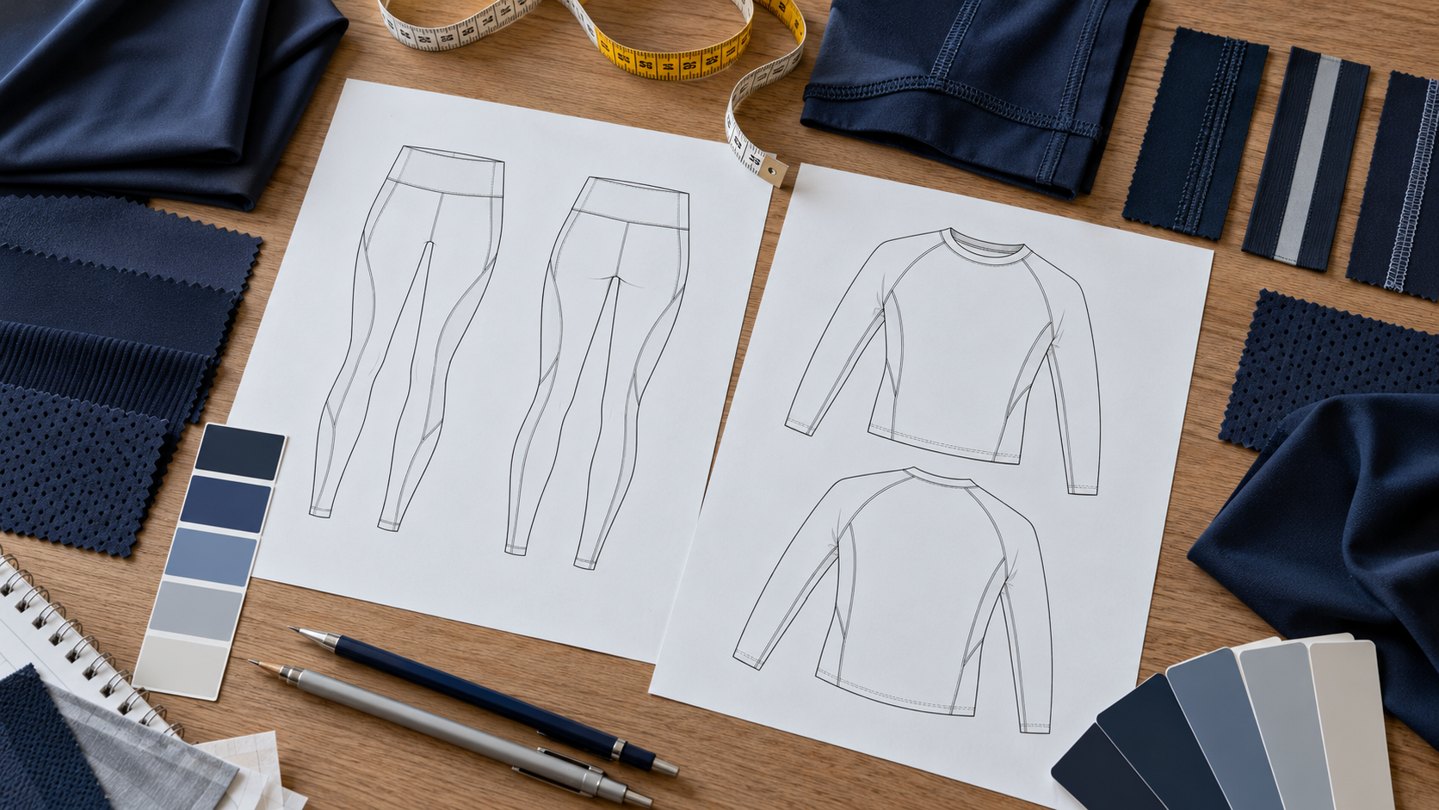
A useful technical package tells a pattern maker and sewing operator the same story. Export a controlled PDF for review, while retaining editable artwork and measurement files. State which documents are included in the PO; a technical file does not become a complete contract merely because it is called a tech pack.
- Front and back flats: name the components and show seam placement, pockets and decoration positions.
- Points of measure: define the base-size measurements and how each point is measured, including relaxed or stretched condition.
- Grading: document size-to-size changes. A +2 cm example is a rule for a named measurement, not a value to apply to every dimension.
- Bill of materials: identify fabrics, trims, elastic, labels, packaging and thread. If the construction calls for Tex 40, make that designation explicit.
- Colourways and artwork: provide vector files, positions and a physical colour reference supported by the Pantone colour system.
Write the construction rather than a quality adjective. Examples include a 4-needle, 6-thread flatlock construction or topstitching positioned 3 mm from a specified edge. A material description such as 280 GSM cotton/spandex with a carbon-peached finish still needs composition, tolerances, performance requirements and an approved hand-feel reference.
Build and check these pages with our sportswear tech pack checklist and build guide, including a downloadable review checklist and editable template for recording the current specification before the next sample round.
Step 5. Approve Materials and Understand the Sample Fee
Evaluate materials before using repeated fit rounds to solve a fabric problem. Stretch, recovery, drape and thickness affect the pattern. If an early prototype uses substitute cloth, mark that limitation and schedule another review in the intended material.
A sample unit can cost 3–5× the intended bulk unit price because pattern work, small material purchases and machine setup are spread over very few garments. Ask Sportxia to itemize development and revision fees, and state whether an agreed amount will be credited against a qualifying bulk order.
| Cost driver | Lower complexity option | Higher complexity option |
|---|---|---|
| Fabric source | Available stock / market fabric | Custom knitted or woven material |
| Colour development | Existing stock-card colour | Custom lab dip or Pantone match |
| Garment construction | Standard seam arrangement | Additional panels, lining or quilting |
| Components | Available standard zipper or button | Custom-molded puller or toggle |
Approve three physical reference groups
- Fabric swatches: examine drape, opacity, hand feel, composition and the specified mass per unit area. ASTM D3776/D3776M covers fabric mass-per-area methods; agree the applicable edition and test conditions with the laboratory.
- Lab dips and print strike-offs: compare physical samples to the approved standard under consistent agreed lighting. A video can show movement and texture, but does not replace physical colour approval.
- Trim cards: operate zippers, snaps and other components and assess elastic against the intended performance.
Build a separate development budget for the agreed sample rounds, setup work, testing and delivery. Our step-by-step clothing sample cost guide shows how to compare itemized quotations and track conditional bulk-order credits without confusing them with the cash needed for sampling.
Step 6. Review Proto 01 for Structure and Feasibility

The first prototype establishes whether the design can be made as intended. Confirm silhouette, panel relationships and assembly before spending time on small cosmetic details that are already scheduled for later materials.
- Measure flat first: compare chest, waist, inseam and other required points to the current specification. If the agreed tolerance is 1.0 cm, a deviation greater than 1.0 cm requires resolution before the fit decision. Use the actual point-specific tolerance rather than treating that example as a universal rule.
- Review on the agreed body or form: observe balance and movement. A remote review should include a consistent camera angle and the measuring method.
- Build a photo record: front, back, side and close-ups of tension areas such as the armhole or crotch.
- Return located instructions: identify the seam or measurement by name and quantify the change, such as raising a specified hem by 2 cm.
Put every comment into one revision log and rank it as required for approval or a preference for discussion. Changing numerous unrelated variables in the same sample makes the result difficult to interpret.
Step 7. Verify Fit and Release the Pattern
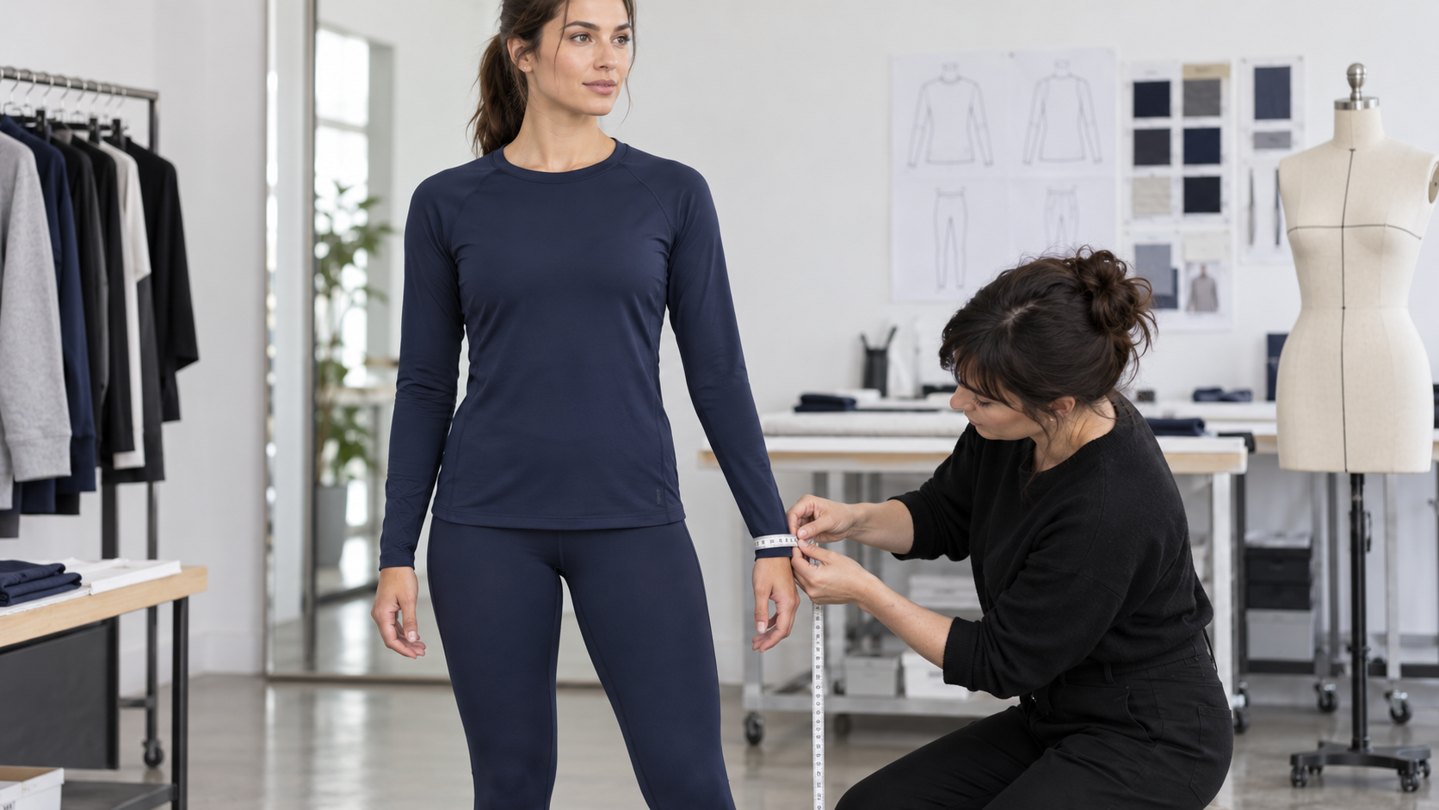
Use a consistent fit model or dress form and retain its body measurements. ASTM D5219 provides terminology for body dimensions used in apparel sizing; it does not specify your brand’s finished-garment fit or certify that a sample fits.
For every round, measure the garment, assess fabric torque and hand feel, then review the intended movements. Sportswear may require sitting, reaching, stretching and squatting. Note waistband roll, pressure, coverage and restriction separately so the pattern team can identify the cause.
For a repeatable movement screen and a clearer cause-to-correction record, follow our guide to diagnosing and fixing activewear fit issues. Use the observations to brief the next fit round before releasing the pattern.
Write a location, direction and value
Instead of “the sleeve is too long,” identify the sleeve and measurement point, specify a 1.5 cm reduction and state whether the cuff position or other points must stay fixed. Save the change from Rev A to Rev B in the measurement chart and photo record.
Concentrate on the 3–5 highest-impact structural issues in a round when that is enough to establish a stable direction. If several variables must change together, record the reason and which earlier approvals need to be repeated. Retain the signed, tagged counter sample as the fit reference and archive its associated specification.
Approval output: a final fit comment pack, current measurements, locked pattern version and an identifiable approved reference garment.
Step 8. Choose Size Sets and Sales Samples for Their Jobs

After base-size fit approval, two questions remain: does grading work across the range, and is the product ready to represent the collection to buyers or customers? Use the sample types that answer those questions.
1. Check grading with a size set
Review the full planned size range or an agreed representative run such as XS, M and XL. If the range includes XXL, decide whether that endpoint needs its own physical check rather than assuming a Medium pattern proves it. Measure each point against the grading chart and assess pocket position, trim proportion and movement across sizes.
2. Order the right sales or photo sample
An SMS — salesman sample — or dedicated photo sample should use the final approved fabric, colour, trims and finishing needed to represent the goods being sold. A fit sample with substitute components is a development record, not automatically a suitable e-commerce product.
| Business need | Sample type | What it establishes |
|---|---|---|
| Wholesale / retail selling | Salesman sample (SMS) run | Finished collection presentation; a 6-month selling lead may apply |
| Direct-to-consumer content | Final-material photo sample | Product photography and campaign reference |
| Production size consistency | Size set / agreed size run | Physical verification of grading before bulk cutting |
A wholesale calendar may need the collection shown 6 months before launch; agree the actual selling schedule with the buyer. A lean direct-to-consumer launch can request one final-material photo sample rather than an unnecessary full SMS collection, while size verification and production approvals continue separately.
Step 9. Approve PP, Then Check the Production Output

The PP sample connects the approved pattern to bulk fabric, final trims, decoration and the intended production machinery. Record how it was made, any remaining difference from the bulk process and whether that difference affects the approval.
Run the production-readiness checks
- Laundering and torque: the planning example uses 3–5 wash-and-dry cycles and a 5% shrinkage rejection limit. Agree the product-specific limit, cycle conditions, measuring method and recovery period; also inspect seam twisting. Choose suitable AATCC methods for the property being tested.
- Stitch consistency: record the approved stitches per inch. A PP setting of 12 SPI and a bulk setting of 10 SPI is a process mismatch to investigate. Stitch count alone does not prove whether the seam will fail.
- Component operation: a 50-cycle zipper check can be an agreed development screen. Test elastic recovery and printed-area stretch with defined conditions and acceptance criteria.
- Labels and packaging: verify that the actual product supports the care instructions and matches approved label and carton records.
Keep three checkpoints after sample approval
- In-line review: an agreed checkpoint at 20% sewn can reveal cutting or construction drift while correction is still manageable. Record the inspected quantity and the affected lot.
- TOP — top of production: inspect representative first units from the actual production line. Compare material, measurements, workmanship and hand feel to PP; hold the affected process when the result differs materially.
- Final inspection: apply the agreed ISO 2859-1 or ANSI/ASQ Z1.4 plan before the contractual balance-release milestone. Define the lot, level, severity, defect classes and acceptance criteria.
Match the bulk BOM to the approved PP references. A change in zipper, thread, fabric lot or print process needs a recorded review, rather than a silent replacement. Ask for TOP measurement video linked to an identifiable production lot.
PP approval email — copy and complete
Subject: PP decision — [style / version / sample tag]

Reviewed sample: [tag, date, colour, size]
Linked documents: [tech-pack version, BOM, material approvals]
Decision: [APPROVED / APPROVED WITH LISTED CONDITIONS / REVISE]

Approved references: [fit, material, trim, artwork and packaging IDs]
Open conditions: [item, owner, completion evidence and due date]
Cutting release: [permitted / held until conditions are cleared]
In-line checkpoint: [quantity or progress point, checks, report owner]
TOP approval: [sample count, lot identification and required evidence]
Final inspection: [standard, level, defect criteria and release process]

No unapproved substitution is permitted. Please confirm receipt,
the production version in use and the agreed checkpoint dates.

[approver / role / date]
Troubleshooting a Sample That Is Not Moving Forward
The design differs from your intention
Check: missing construction callouts or conflicting references. Next action: compare the sample with the relevant detail drawing, identify the exact difference and write a measurable change in millimetres. Separate required matching details from details where the factory may propose alternatives.
Each fit revision creates a new problem
Check: simultaneous changes in model measurements, pattern and material. Next action: return to the last understood version, fix the base-size reference and change the identified variable. Log what is being held constant.
The PP garment differs from the fit reference
Check: material behavior, seam settings, operator method and production equipment. Next action: hold the affected approval, reconcile the construction and repeat the relevant check on the production process. Use TOP to confirm the correction reached the line.
Remove the administrative bottlenecks
Run lab-dip and trim decisions alongside pattern development where dependencies allow. Put comments from email, WhatsApp or WeChat into one controlled log. If instructions are ignored for two consecutive rounds, pause and investigate capability, communication and outsourcing before committing the bulk deposit; that pattern alone does not prove which cause applies.
Questions About Clothing Sample Stages
Why can a sample cost 3–5 times the bulk unit price?
Development pays for pattern work, sourcing small quantities, setup and review across very few units. Ask for the fee, included revisions and material charges in writing. Where Sportxia agrees a sampling-fee credit against a bulk order meeting the applicable MOQ, the quotation should identify the credit and conditions.
What is the difference between PP and TOP?
PP is reviewed before the bulk-production release and establishes the approved production reference. TOP is taken from actual early production to confirm that the line is following that reference. Retain both records; approving PP does not eliminate production inspection.
Can a fit sample be used in a product photoshoot?
Use it only if it actually represents the final product and is separately approved for that purpose. Substitute fabric, temporary trim or unfinished labels can misrepresent the goods. A final-material photo sample or SMS provides a clearer marketing reference.
How long should the complete sample programme take?
Use 30–60 days as a planning band. Prototyping may use 7–14 days, material sourcing 5–10 days and PP development 10–14 days, with review, revision and courier time added or overlapped only where feasible. Custom knitting or dyeing can add 2–4 weeks. A programme below 30 days needs an explicit readiness and risk review rather than skipped approvals.
Finish With a Production Record You Can Reuse
A completed sampling programme leaves more than a good-looking garment. You should have a released technical file, approved materials, a tagged fit reference, PP approval and a production inspection plan. Each record should identify the product version it controls.
Build one product archive containing the signed decisions, revision log, material and test records, reference photographs and retained physical samples. That archive gives Sportxia and your buying team a common starting point for the first shipment and the next reorder.
Reviewed October 26, 2026. Timing bands, construction examples and screening thresholds are planning references to confirm against the product and order specification. Contact the content team about a correction.
Related Posts


READY TO START YOUR BRAND?
Give Your Next Sample a Clear Production Brief
Discuss materials, fit revisions and approval dates with Sportxia.
Get Your Sampling Quote
Leave a Reply